mirror of
https://github.com/jxpeng98/obsidian-to-NotionNext
synced 2026-07-29 16:35:57 +08:00

46 lines
2.2 KiB
Markdown
46 lines
2.2 KiB
Markdown
---
|
|
title: Getting Started
|
|
description: Guide to setting up the Obsidian to NotionNext plugin
|
|
---
|
|
|
|
# Getting Started
|
|
|
|
## Get Notion API Token
|
|
|
|
Before using the plugin, you need to obtain an API Token from Notion to allow the plugin to access your Notion account.
|
|
|
|
1. Go to the [Notion API](https://www.notion.so/profile/integrations) page to create a new integration. You need to be logged into your Notion account.
|
|
2. Click on `+ New integration`.
|
|

|
|
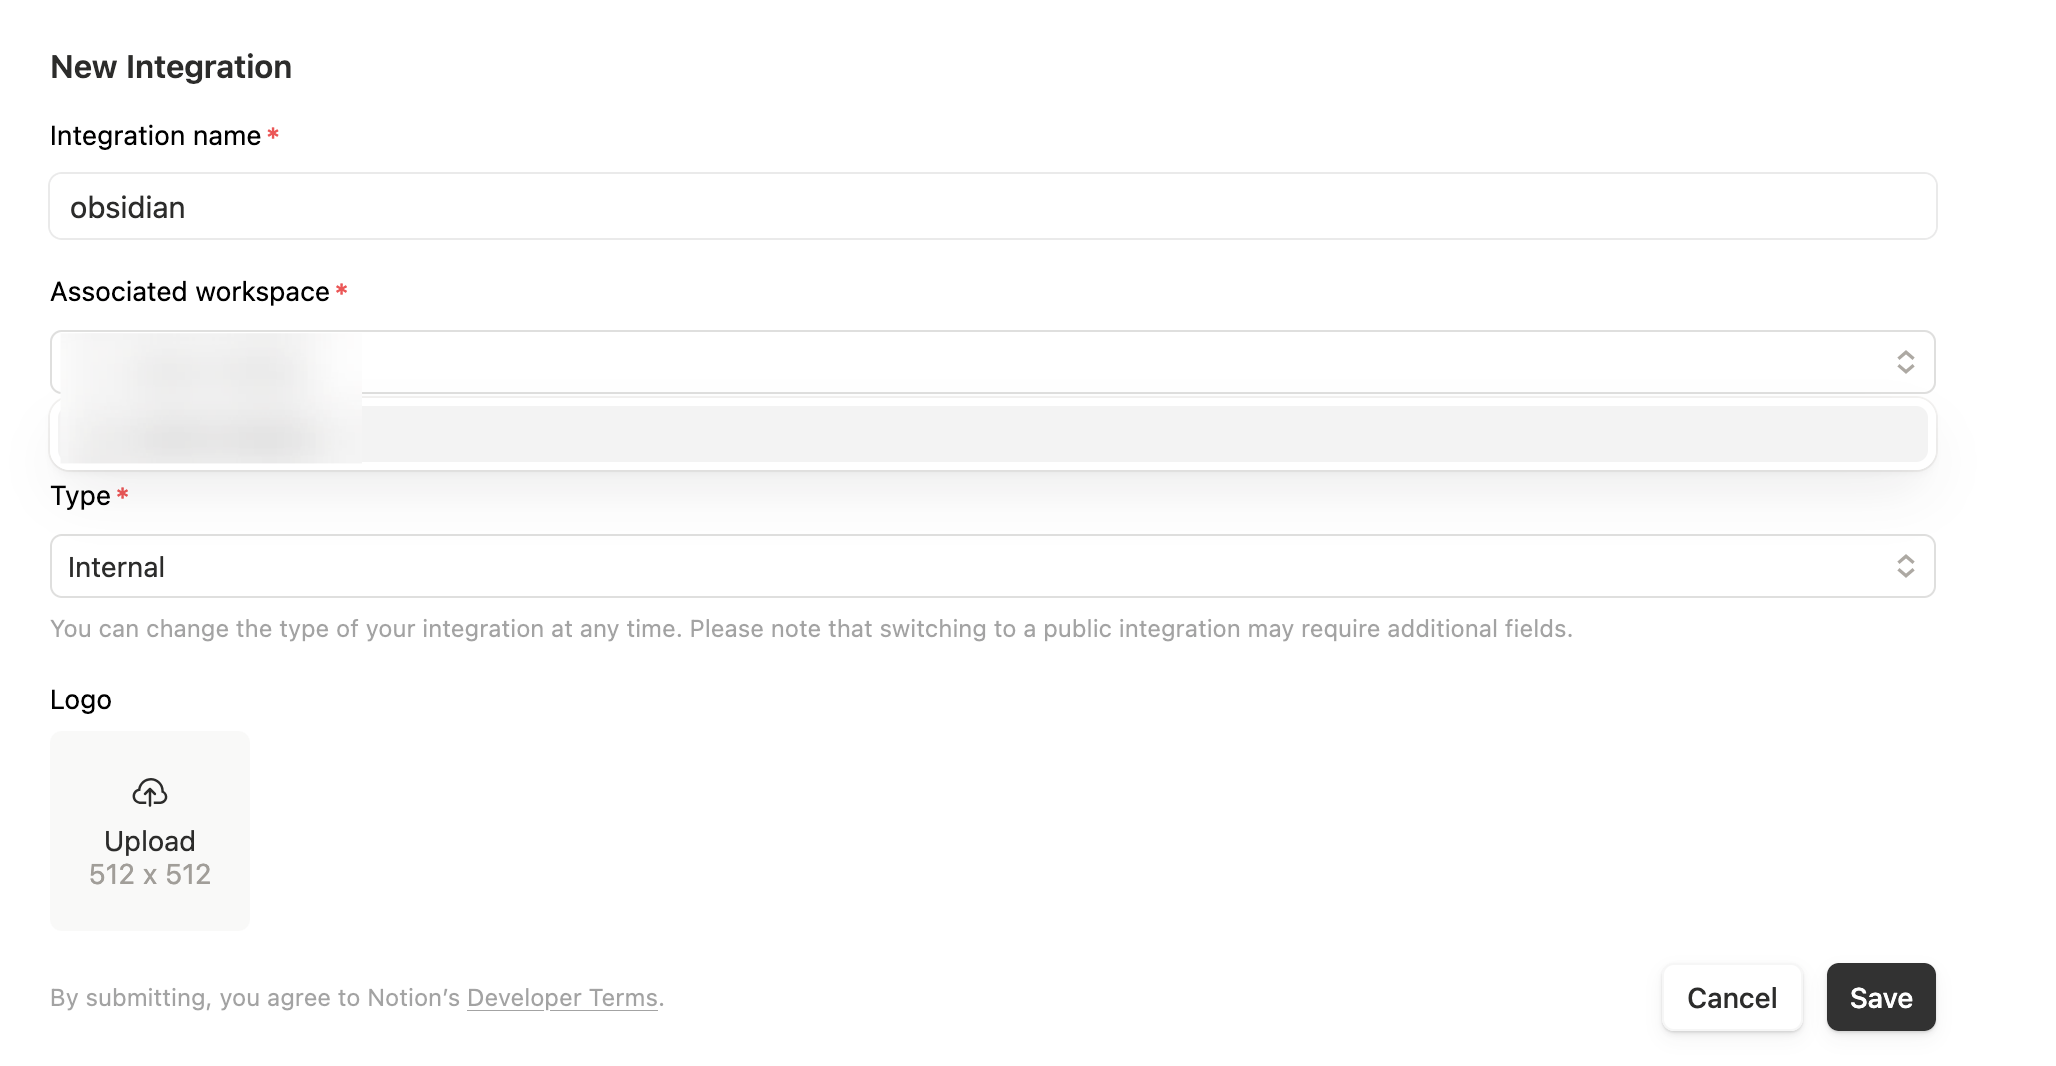
3. Fill in the required information:
|
|
|
|
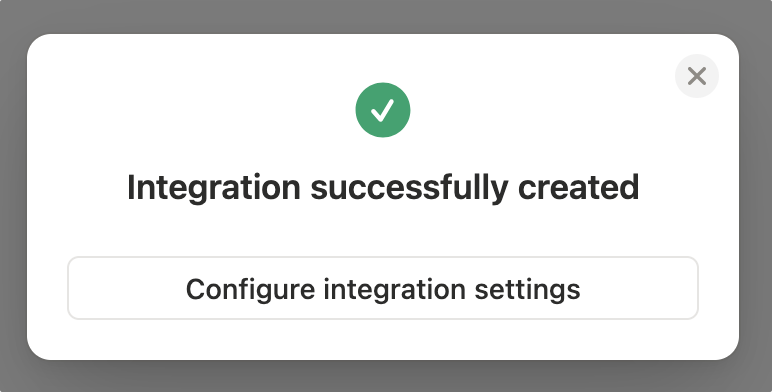
4. Integration successfully created.
|
|
|
|
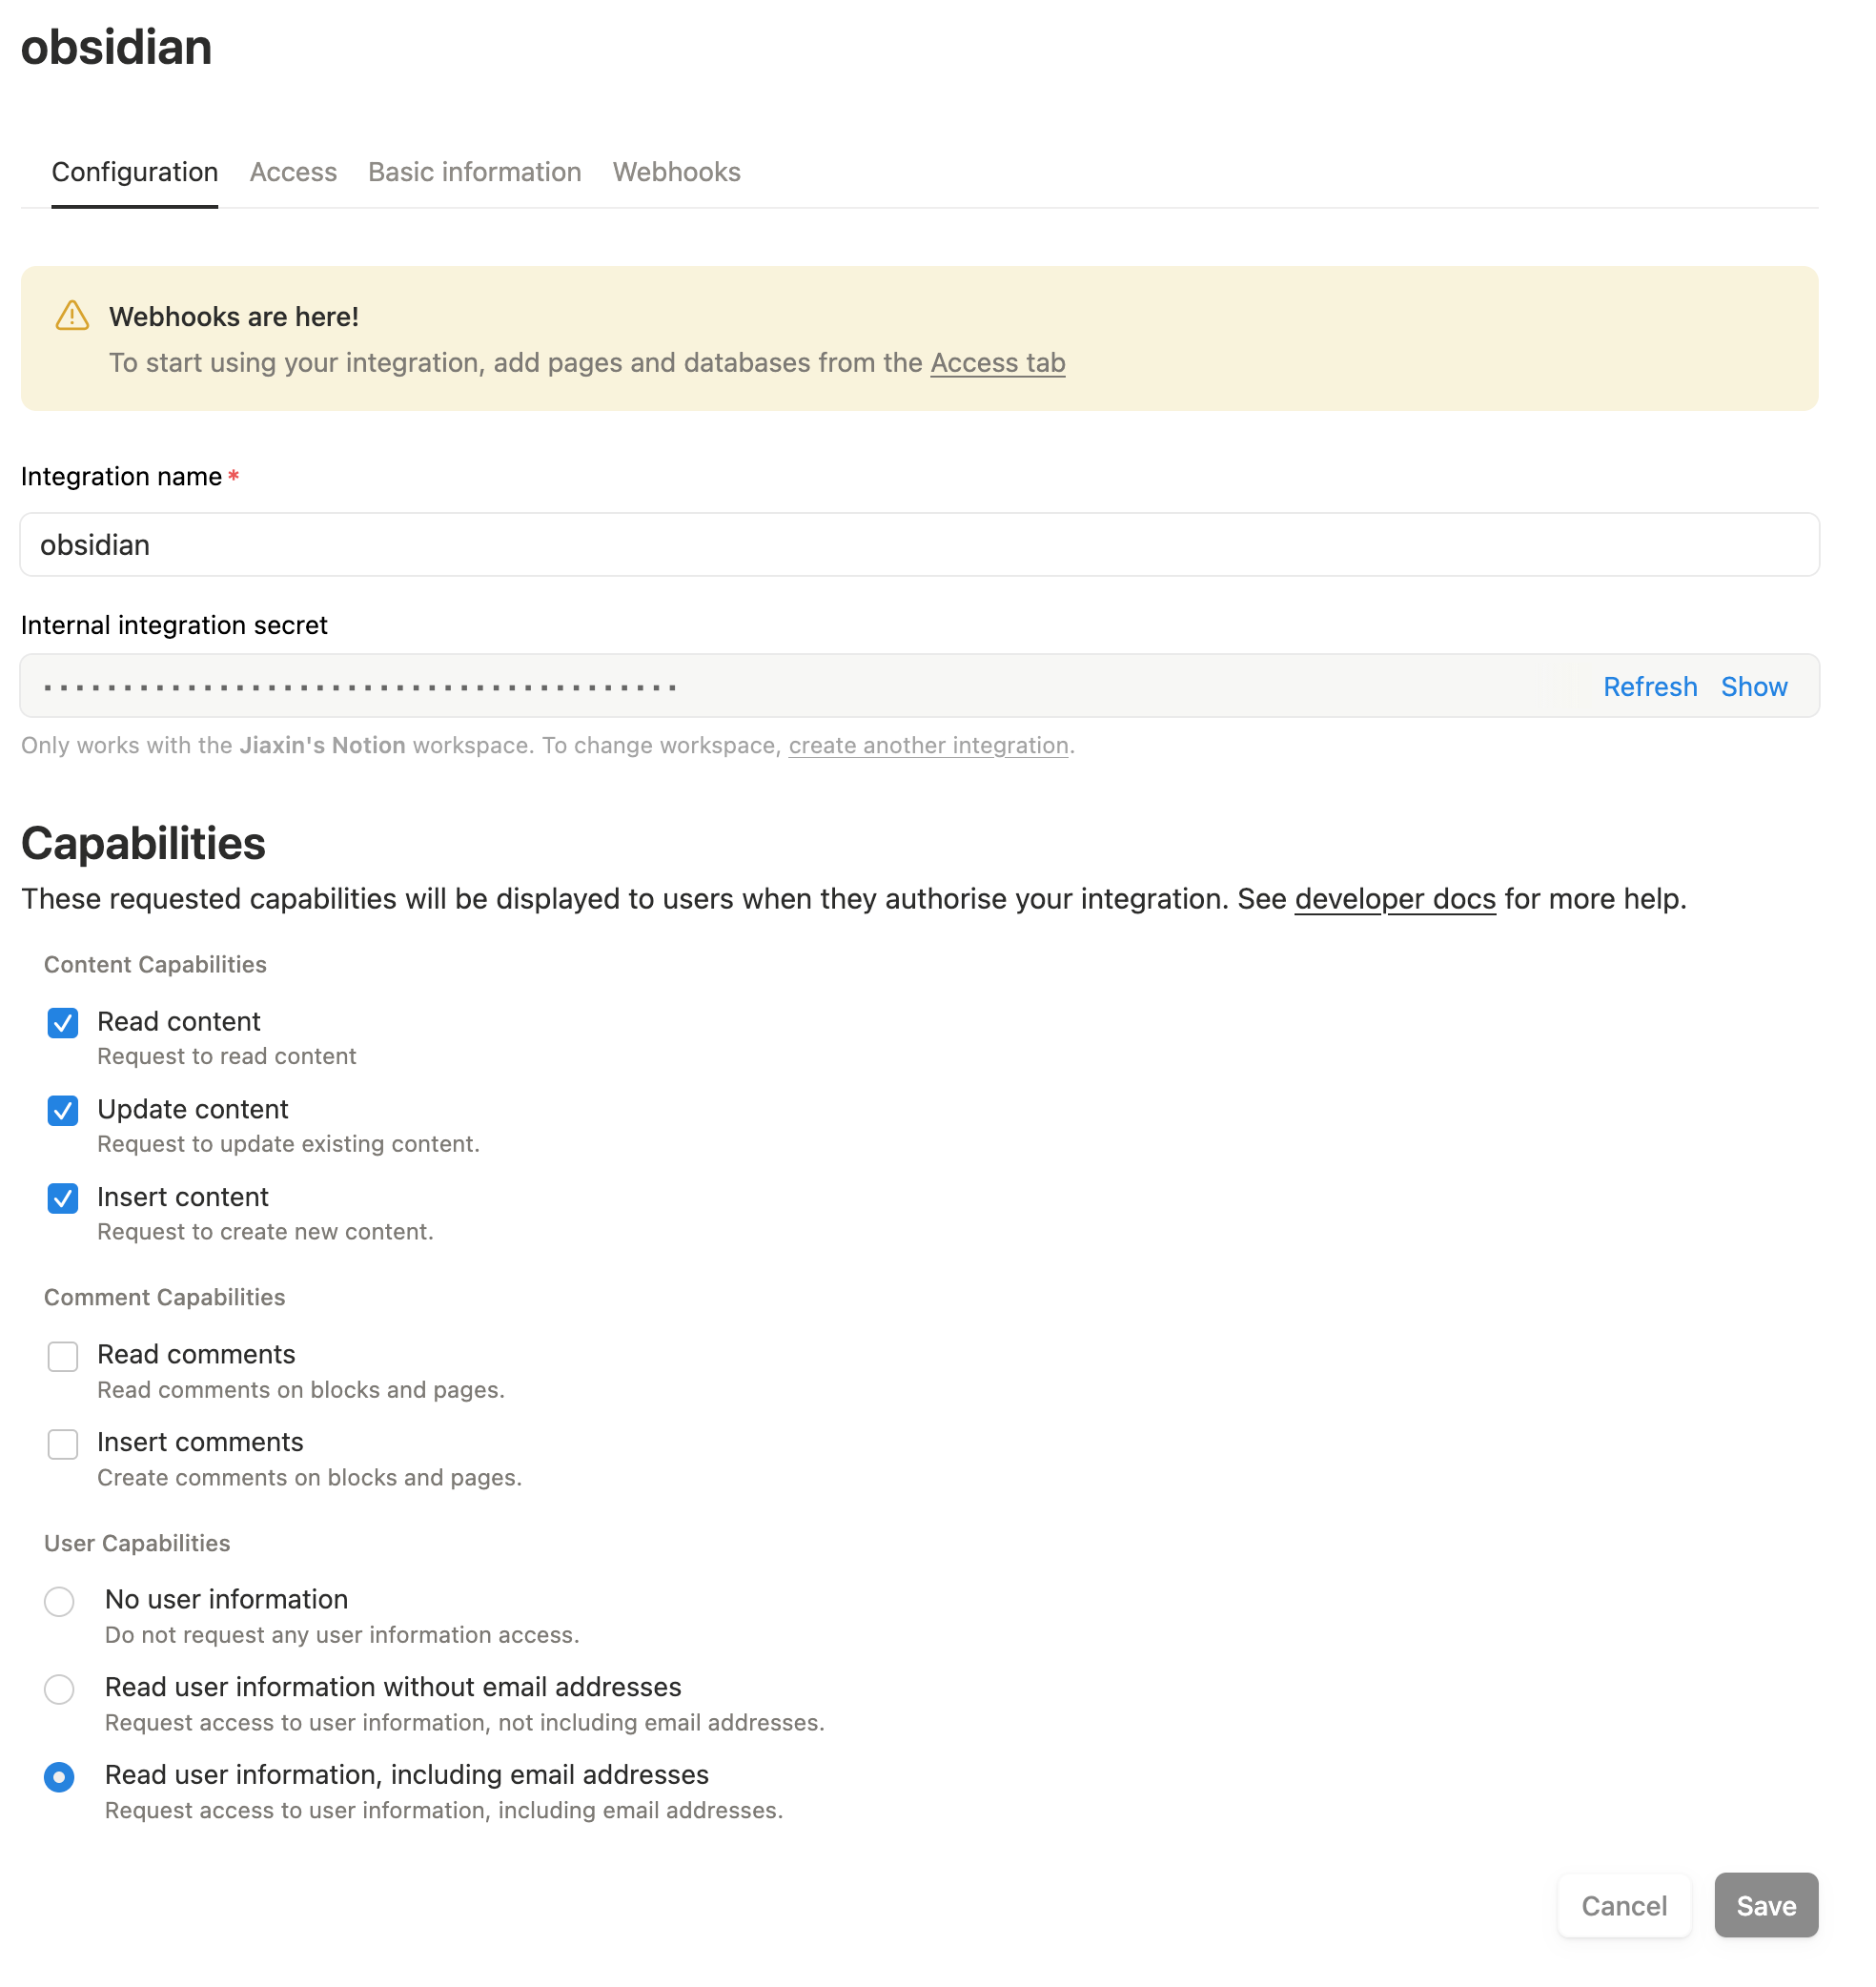
5. Enter the "Configure integration settings" page and **prepare to copy the API Token,** which you will need in the plugin settings.
|
|
|
|
|
|
::: warning
|
|
**⚠️ Note:** Keep your API Token secure and do not share it with others, as it grants access to your Notion data.
|
|
:::
|
|
|
|
## Create a Notion Database and Connect Integration
|
|
|
|
Next, you need to create a Notion database to store the notes synced from Obsidian.
|
|
|
|
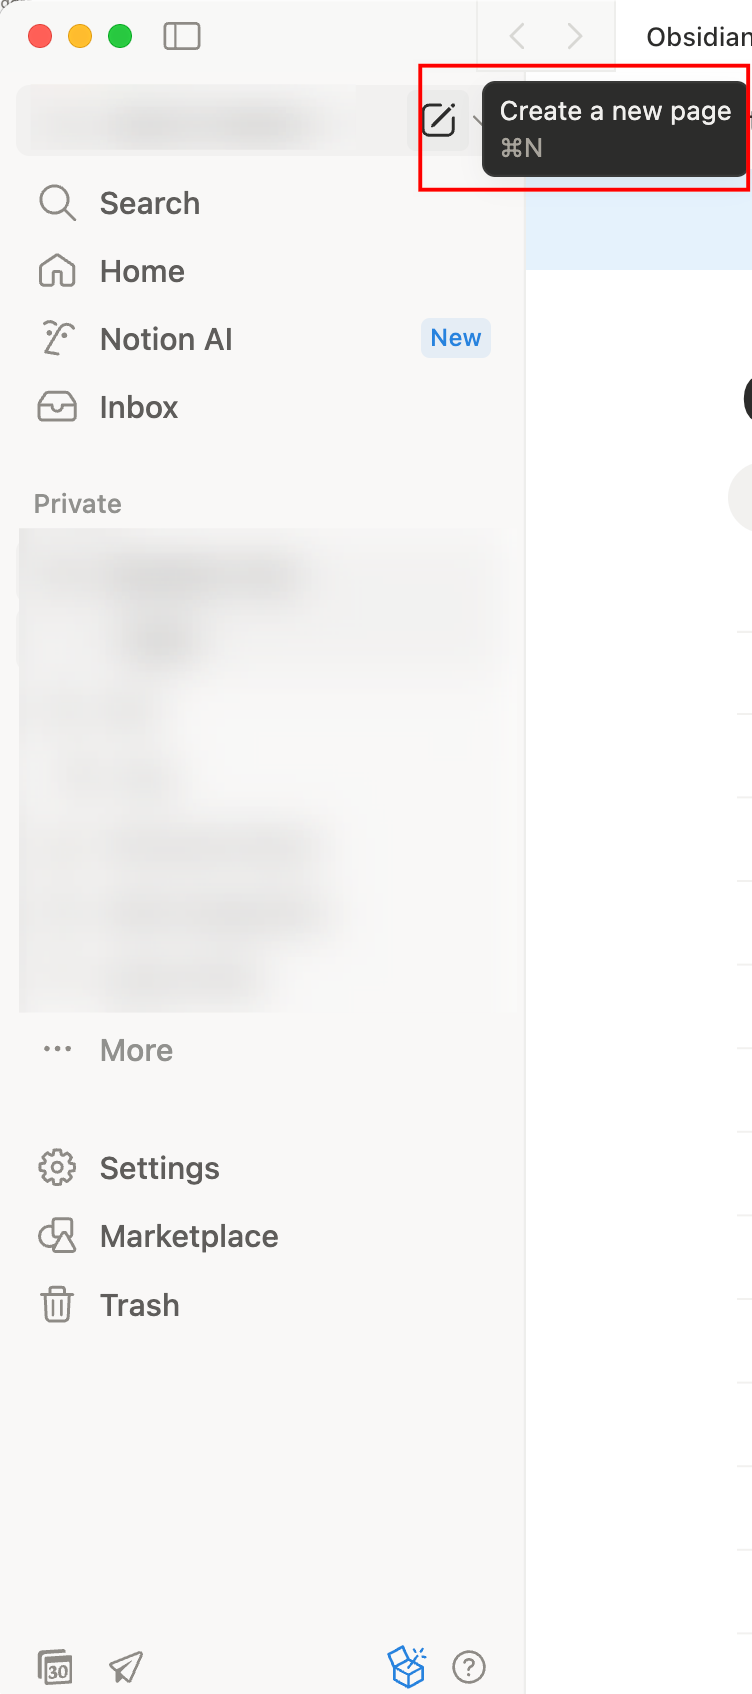
1. In your Notion workspace, click on `Create a new page` to create a new page.
|
|
|
|
|
|
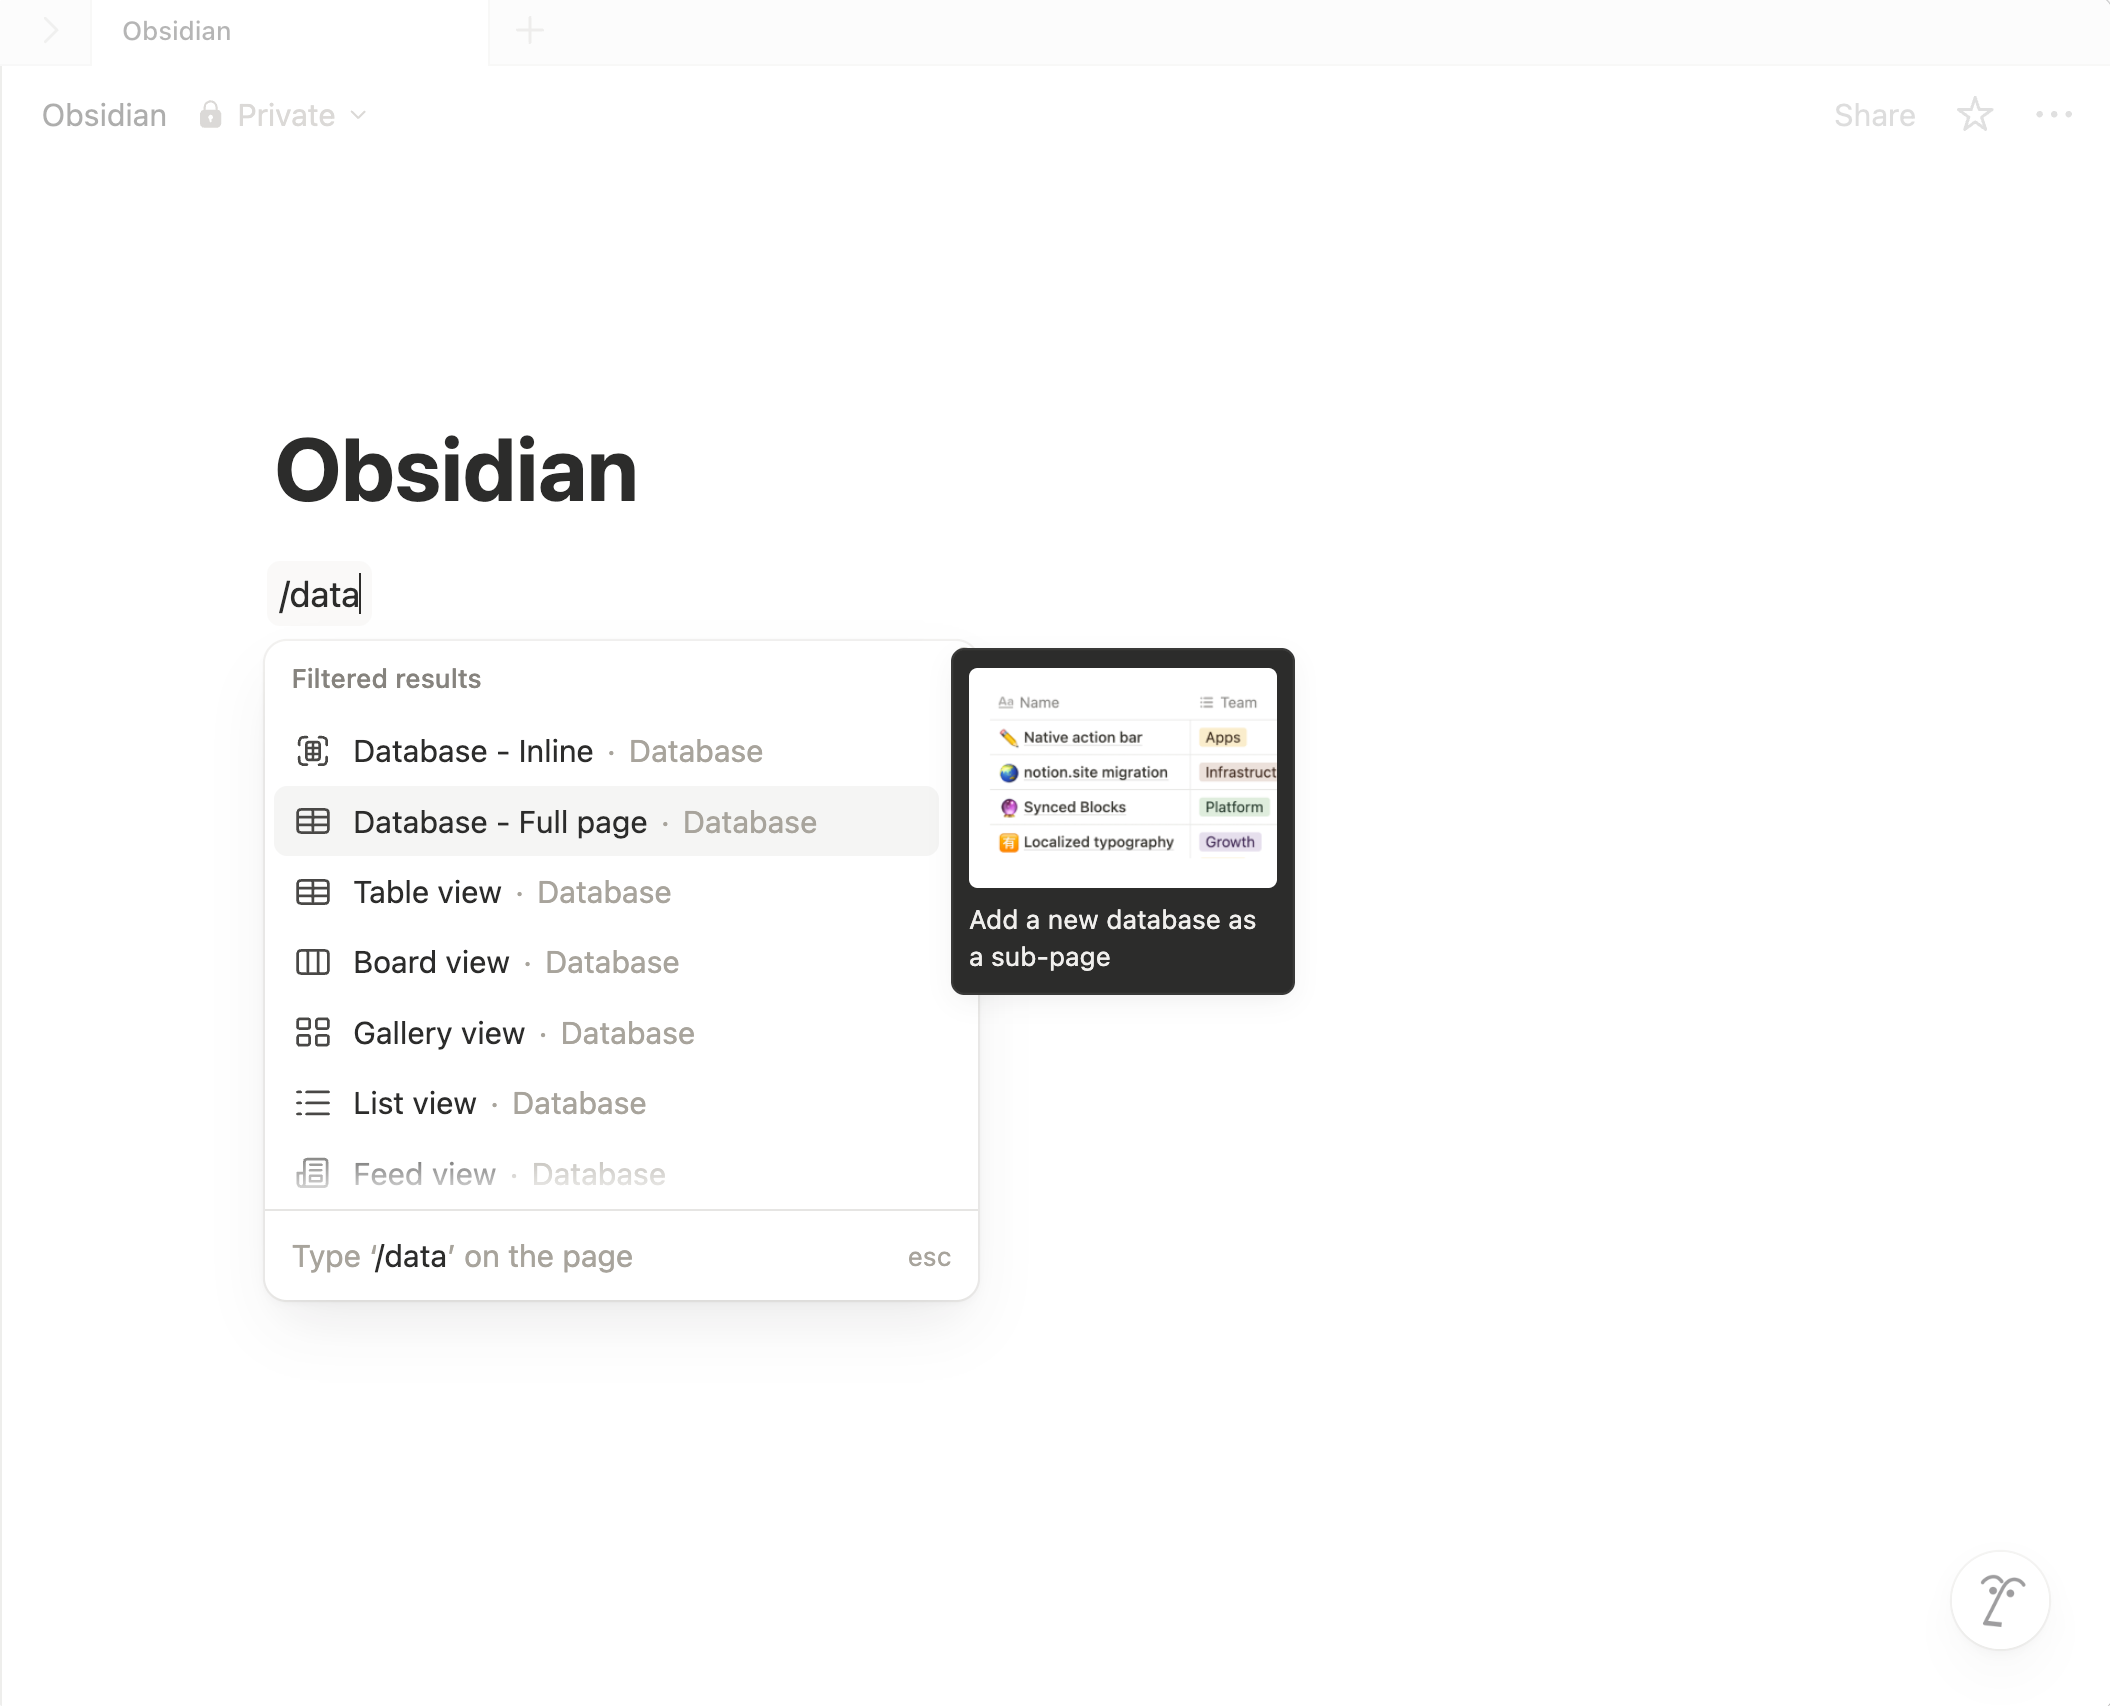
2. create a new page and select the `Database - Full page` option.
|
|
|
|
|
|
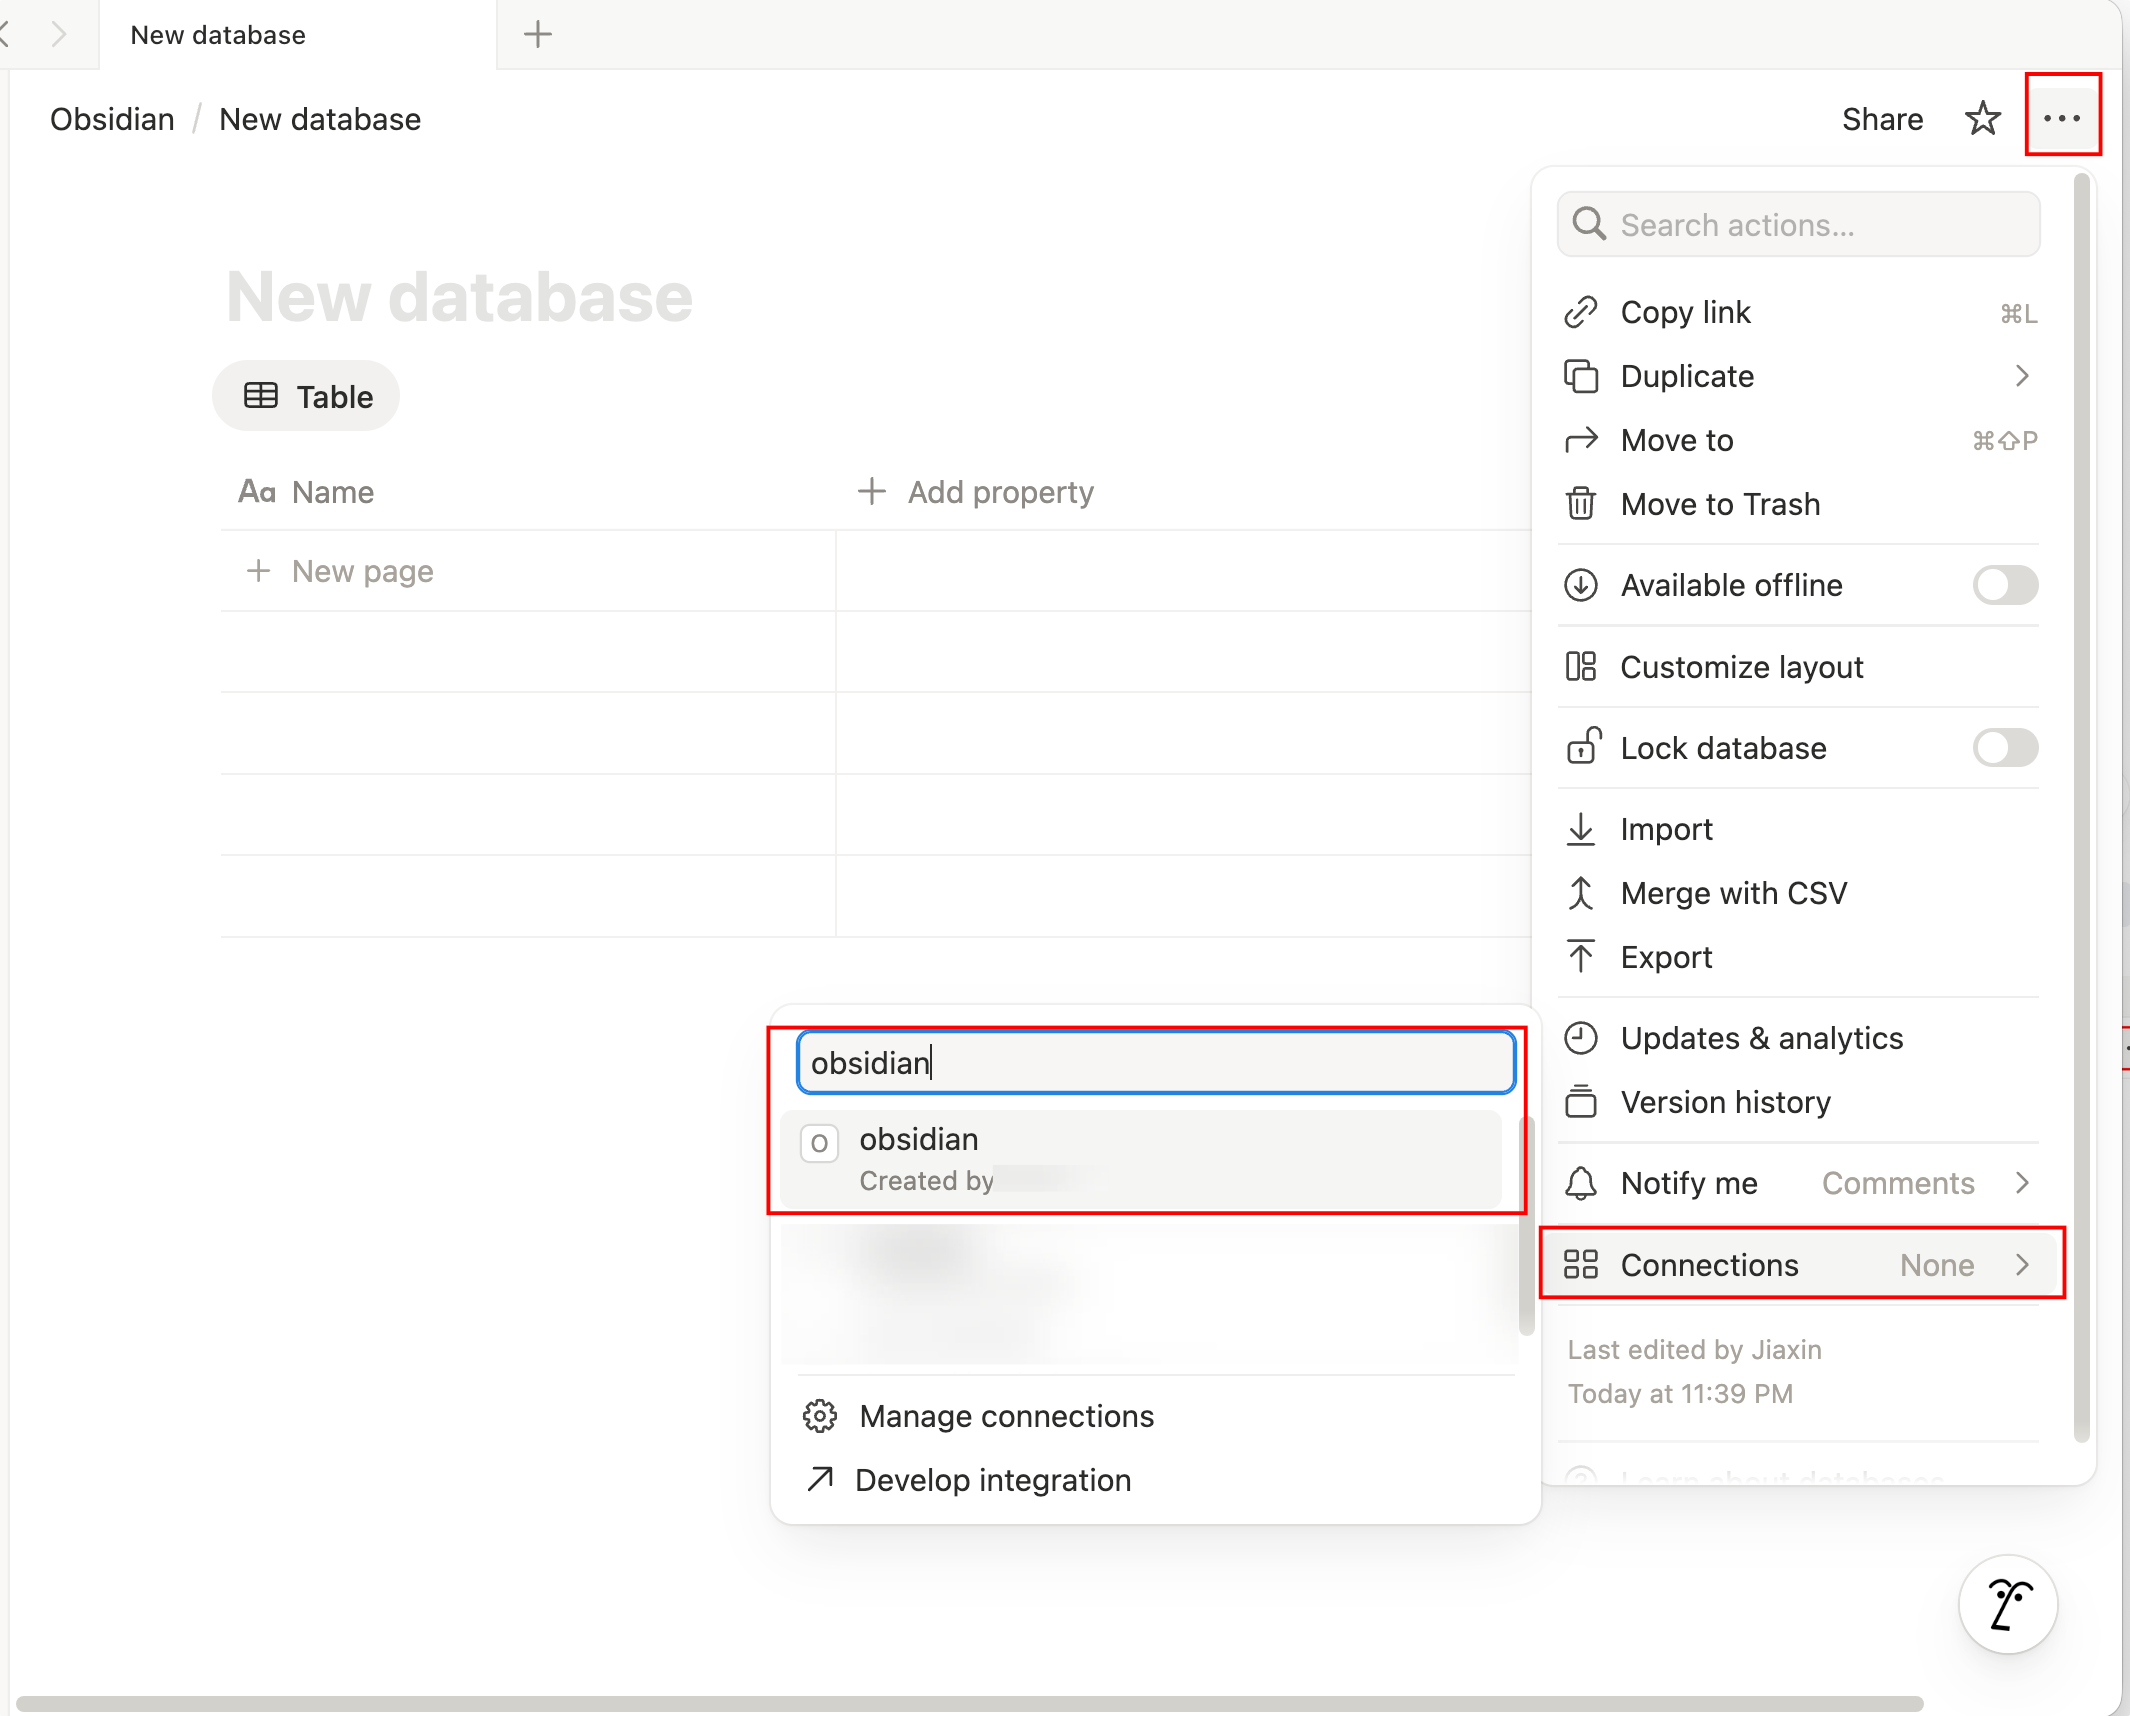
3. Click the `...` menu in the top-right corner of the database page, go to `Connections`, and connect your newly created integration.
|
|
|
|
|
|
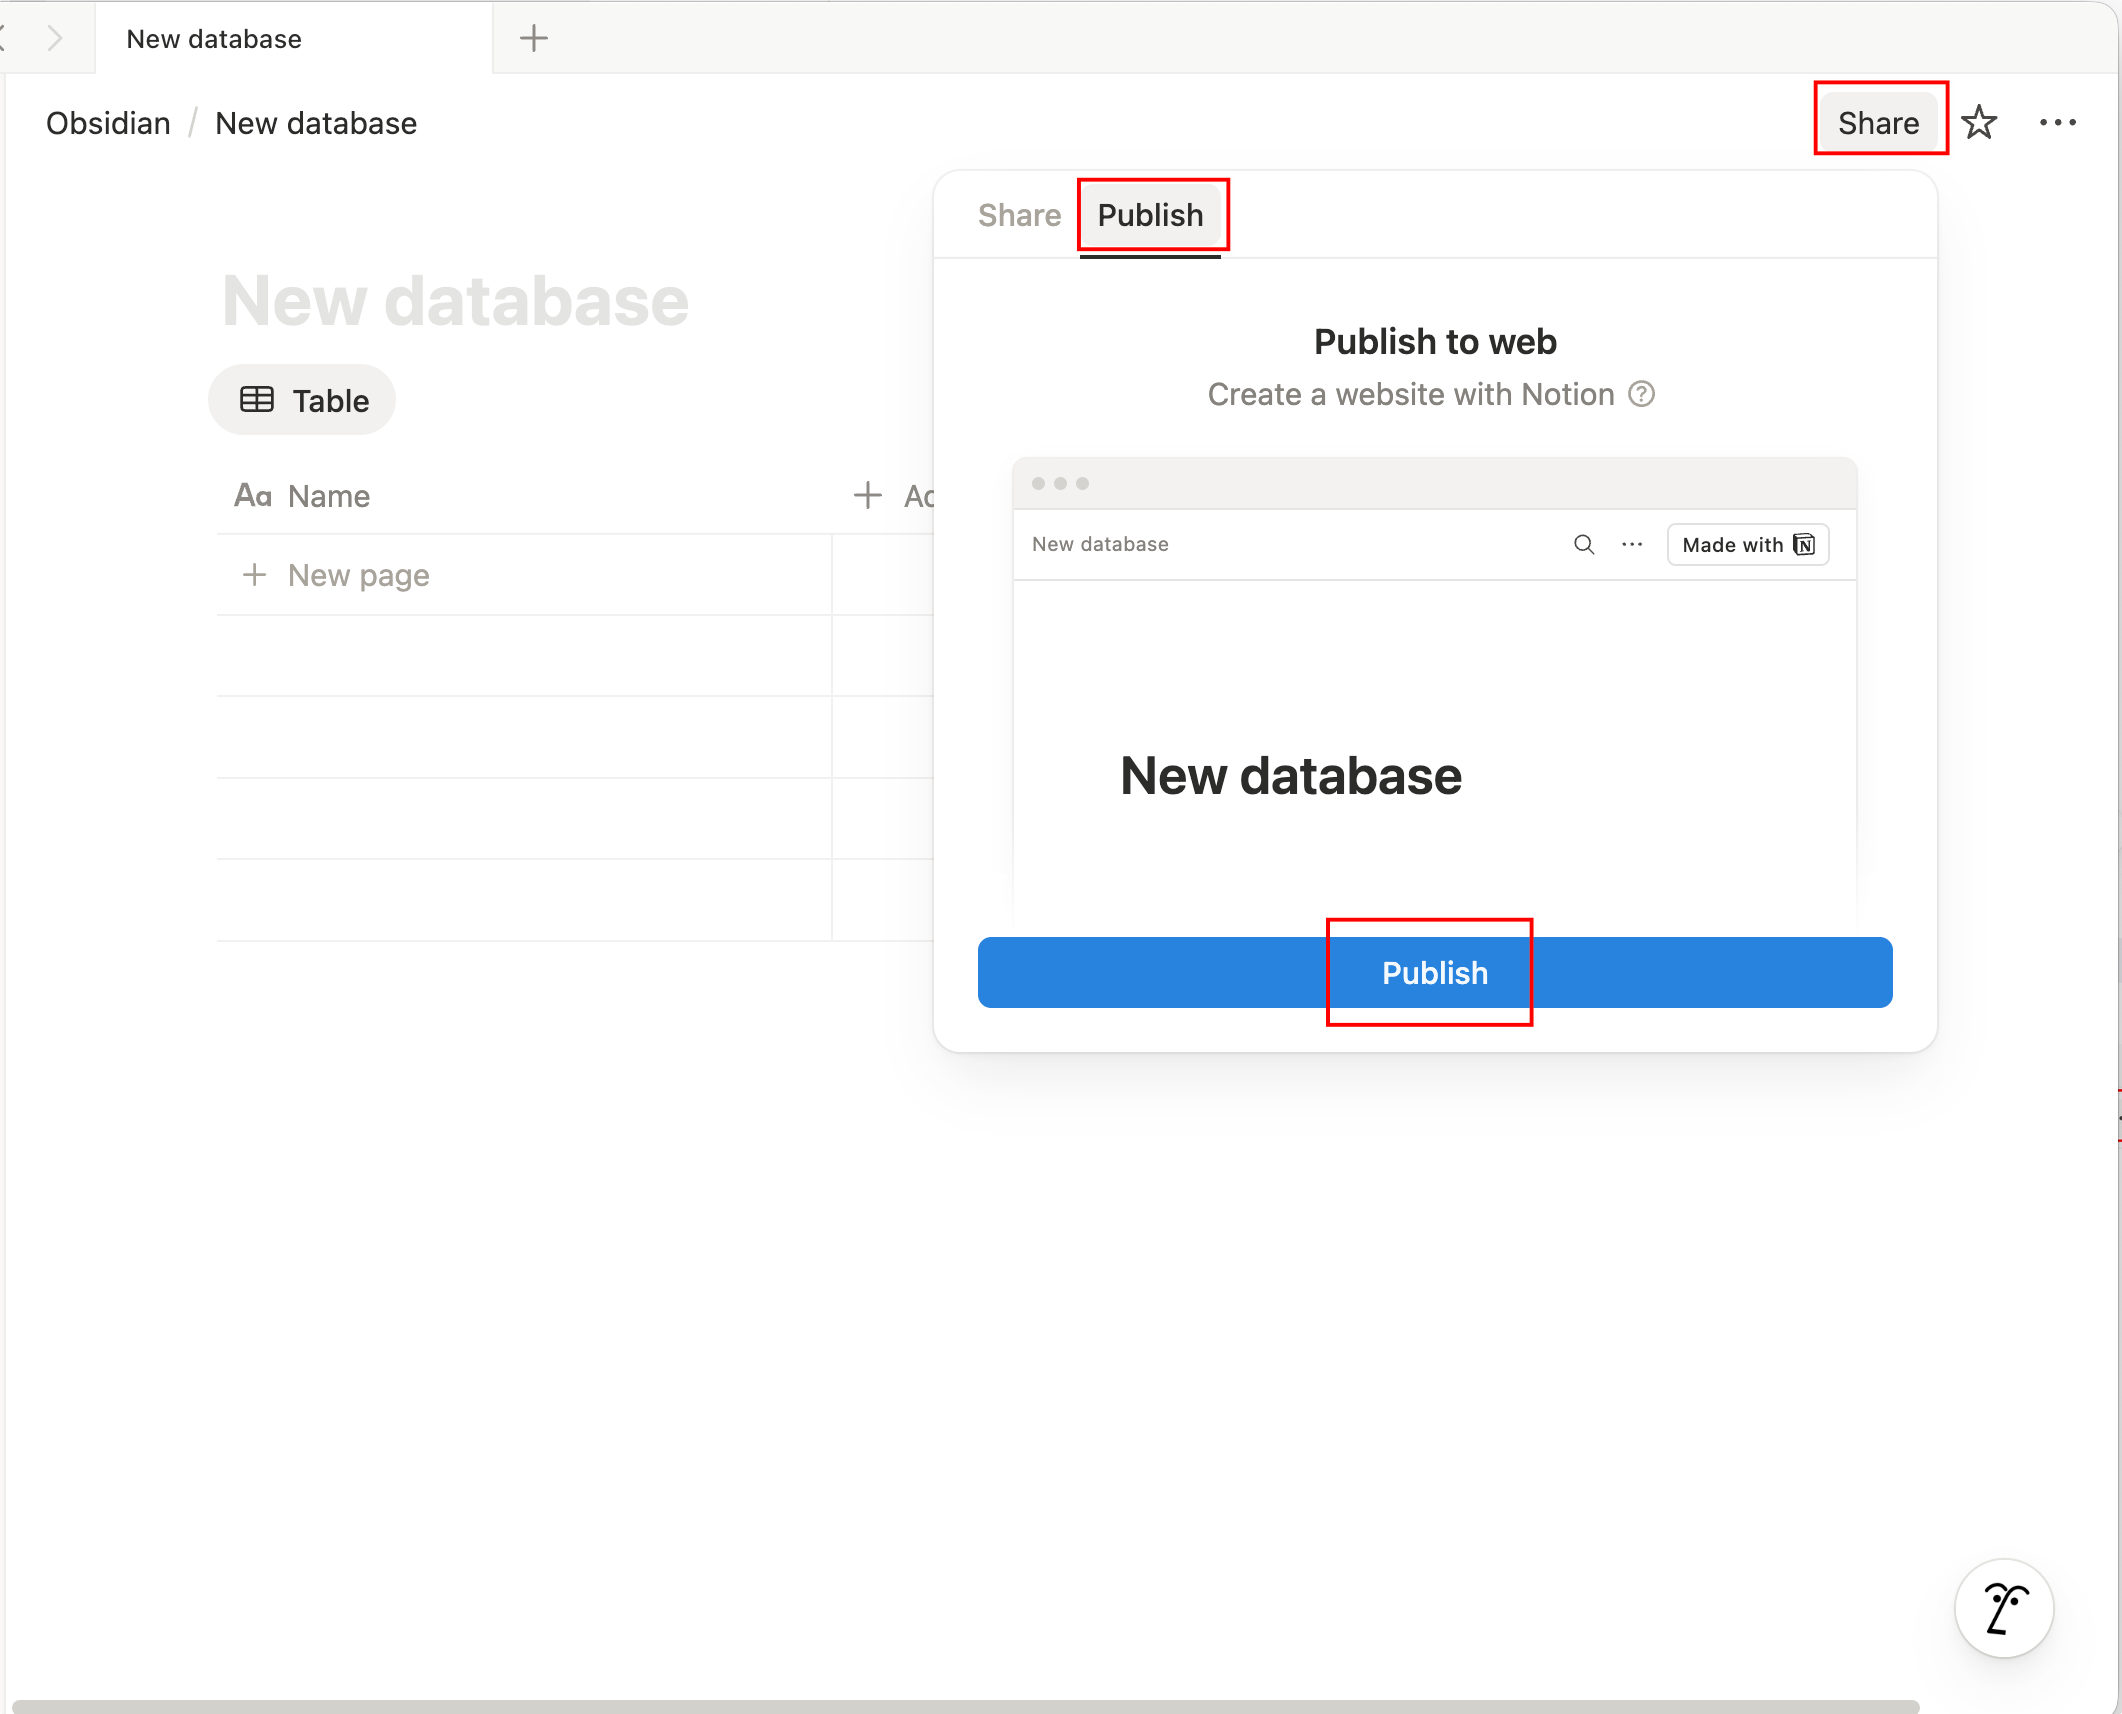
4. Click `Share` -> `Publish` to publish the database to the web.
|
|
|
|
|
|
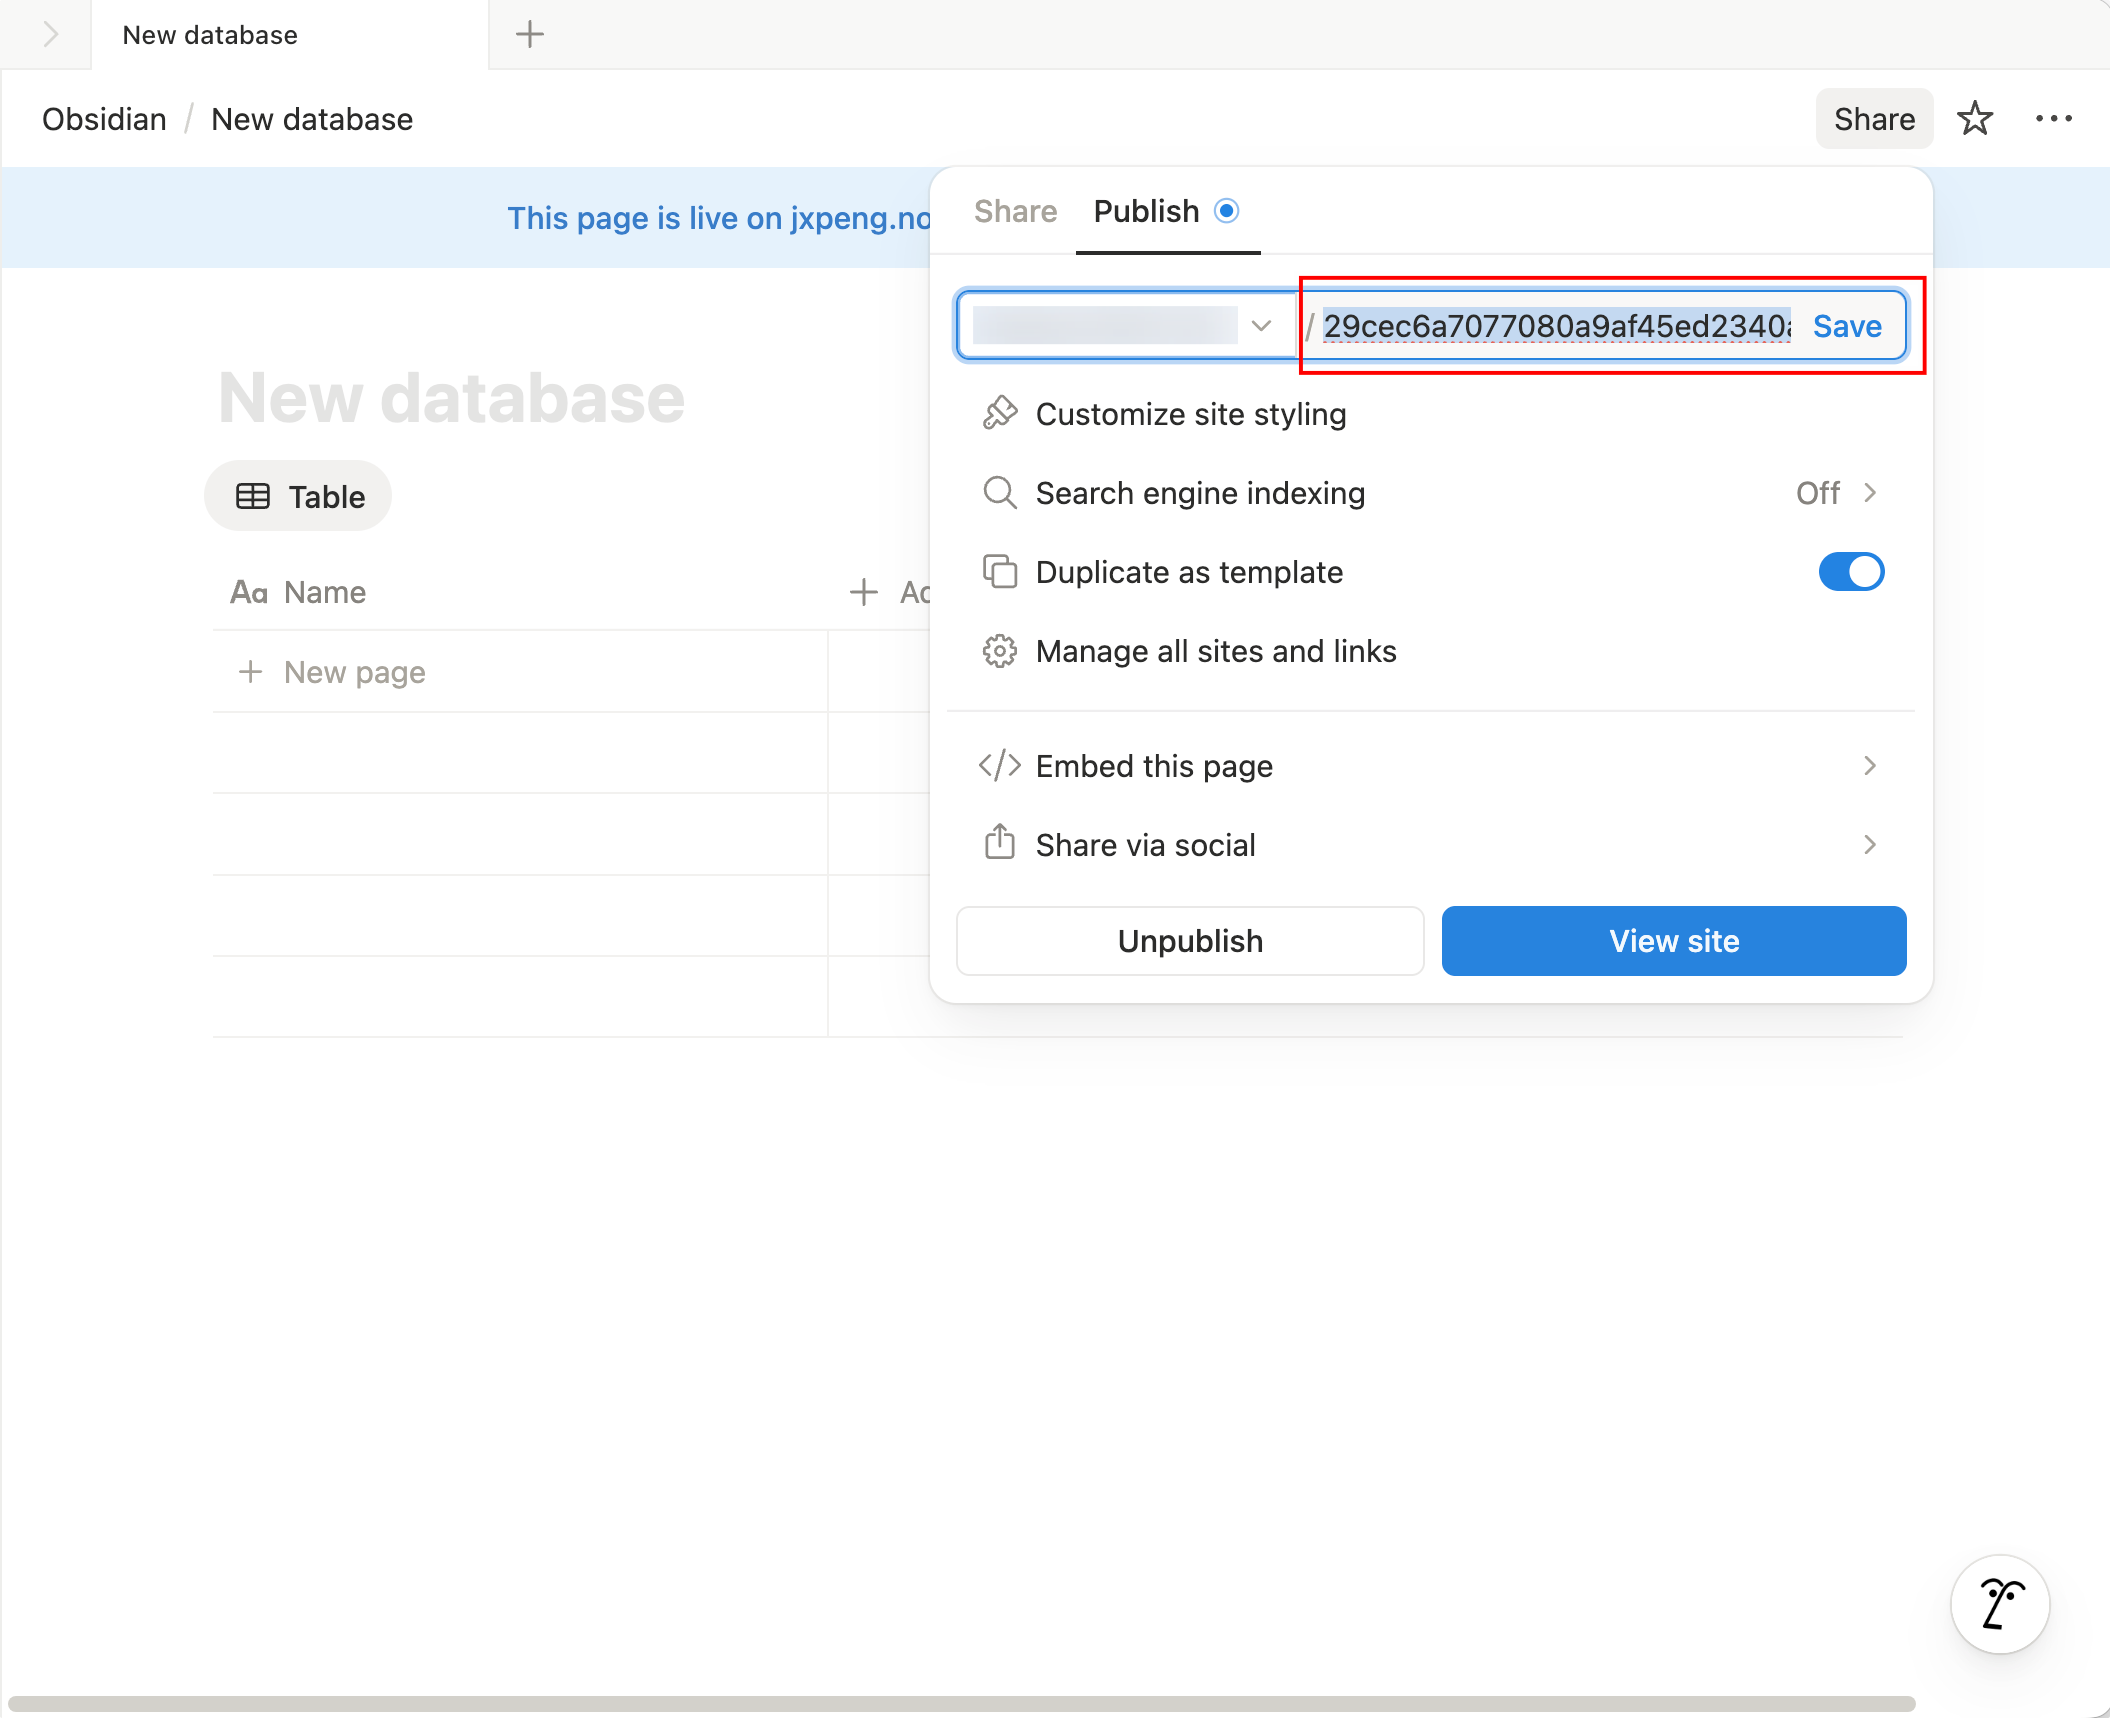
5. Click and copy the **Database ID**.
|
|
|
|
|
|
Next, you can proceed to install and configure the plugin in Obsidian by following the [Installation Guide](./02-installation.md).
|