mirror of
https://github.com/jxpeng98/obsidian-to-NotionNext
synced 2026-07-31 01:30:04 +08:00

46 lines
2.2 KiB
Markdown
46 lines
2.2 KiB
Markdown
---
|
||
title: 开始使用
|
||
description: Obsidian to NotionNext 插件设置指南
|
||
---
|
||
|
||
# 开始使用
|
||
|
||
## 获取 Notion API 令牌
|
||
|
||
在使用本插件前,你需要从 Notion 获取一个 API 令牌(Token),以授权插件访问你的 Notion 账户。
|
||
|
||
1. 前往 [Notion API](https://www.notion.so/profile/integrations) 页面来创建一个新的集成(integration)。你需要先登录你的 Notion 账户。
|
||
2. 点击 `+ New integration`。
|
||

|
||
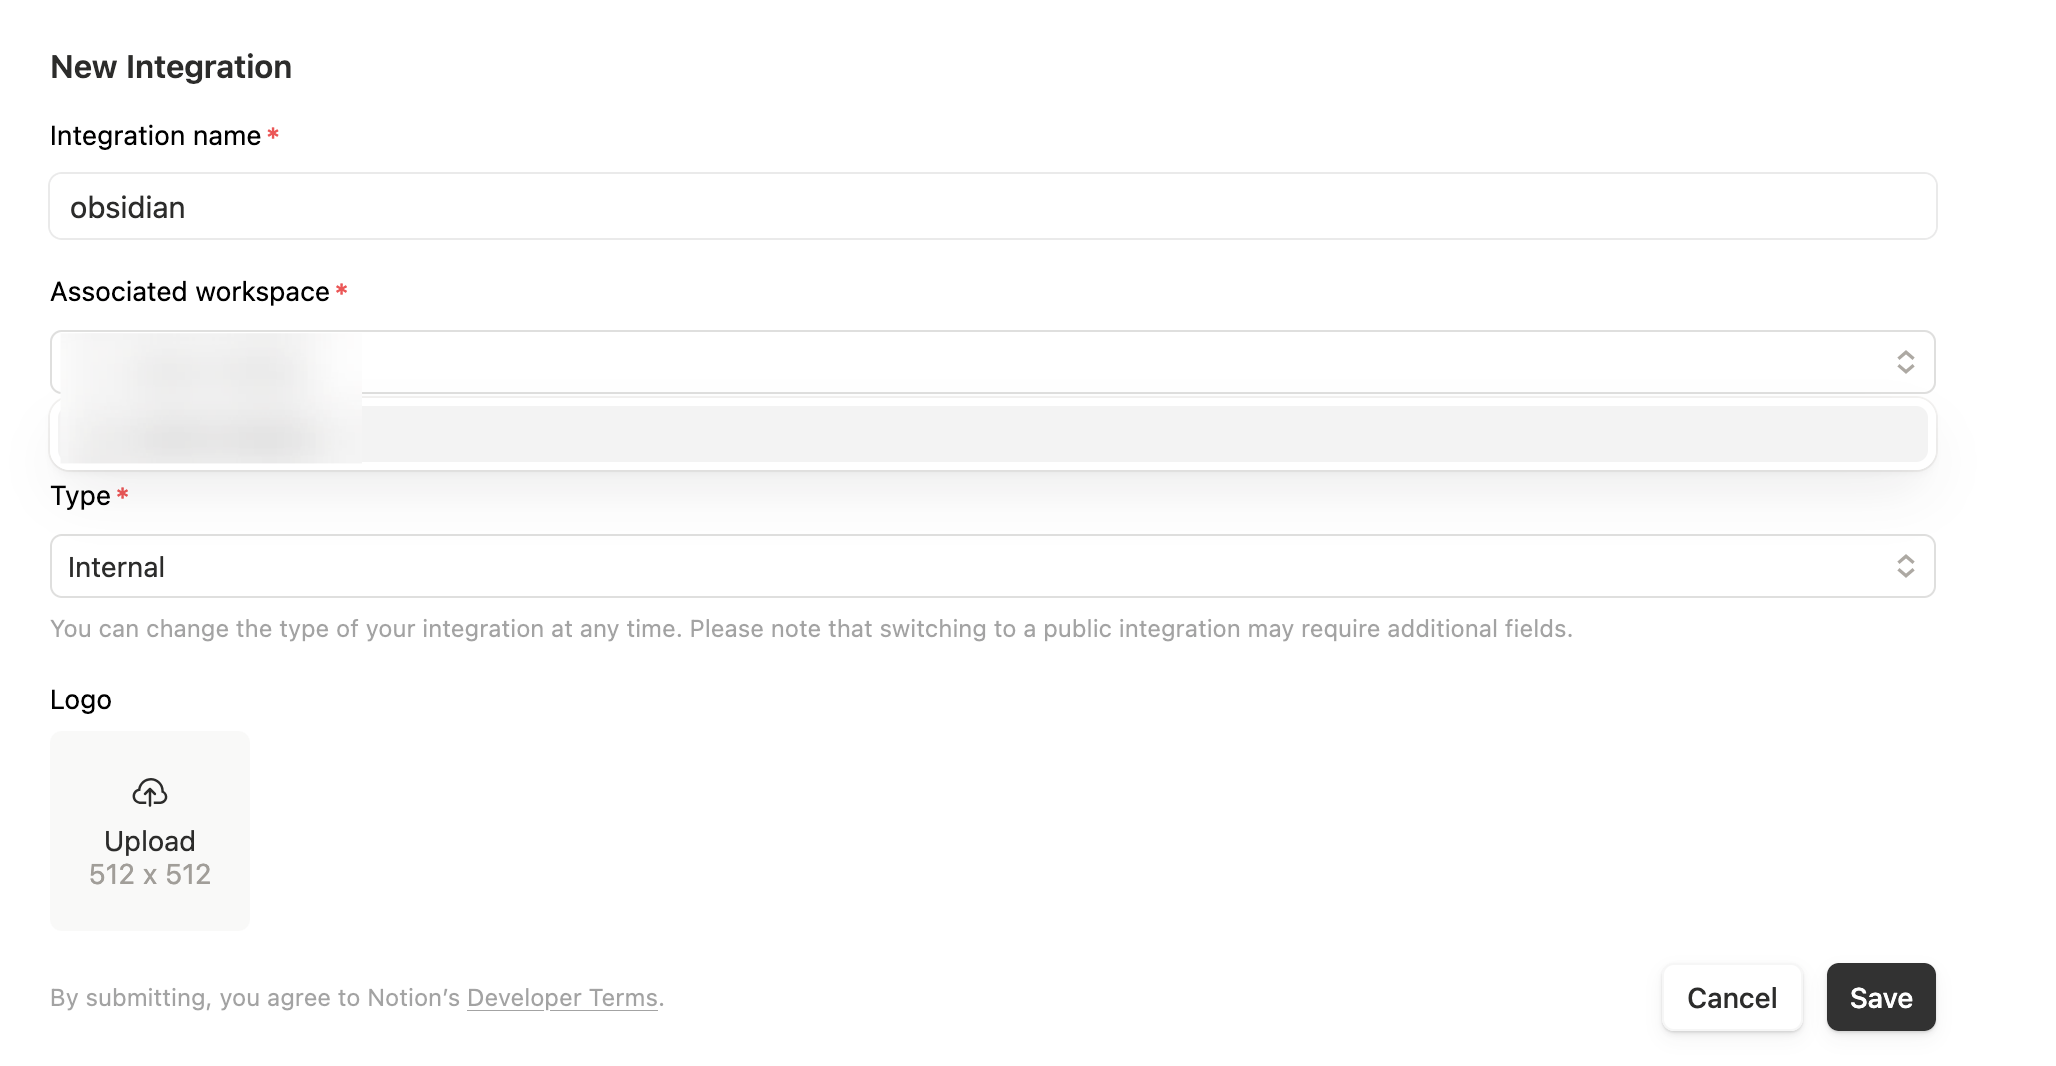
3. 填写一些基本信息:
|
||
|
||
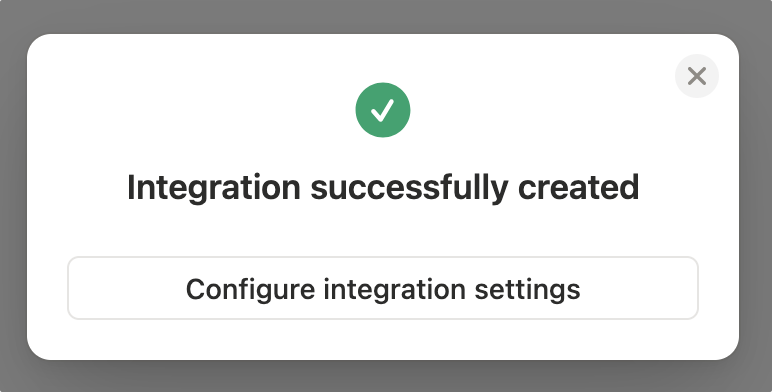
4. 成功创建集成。
|
||
|
||
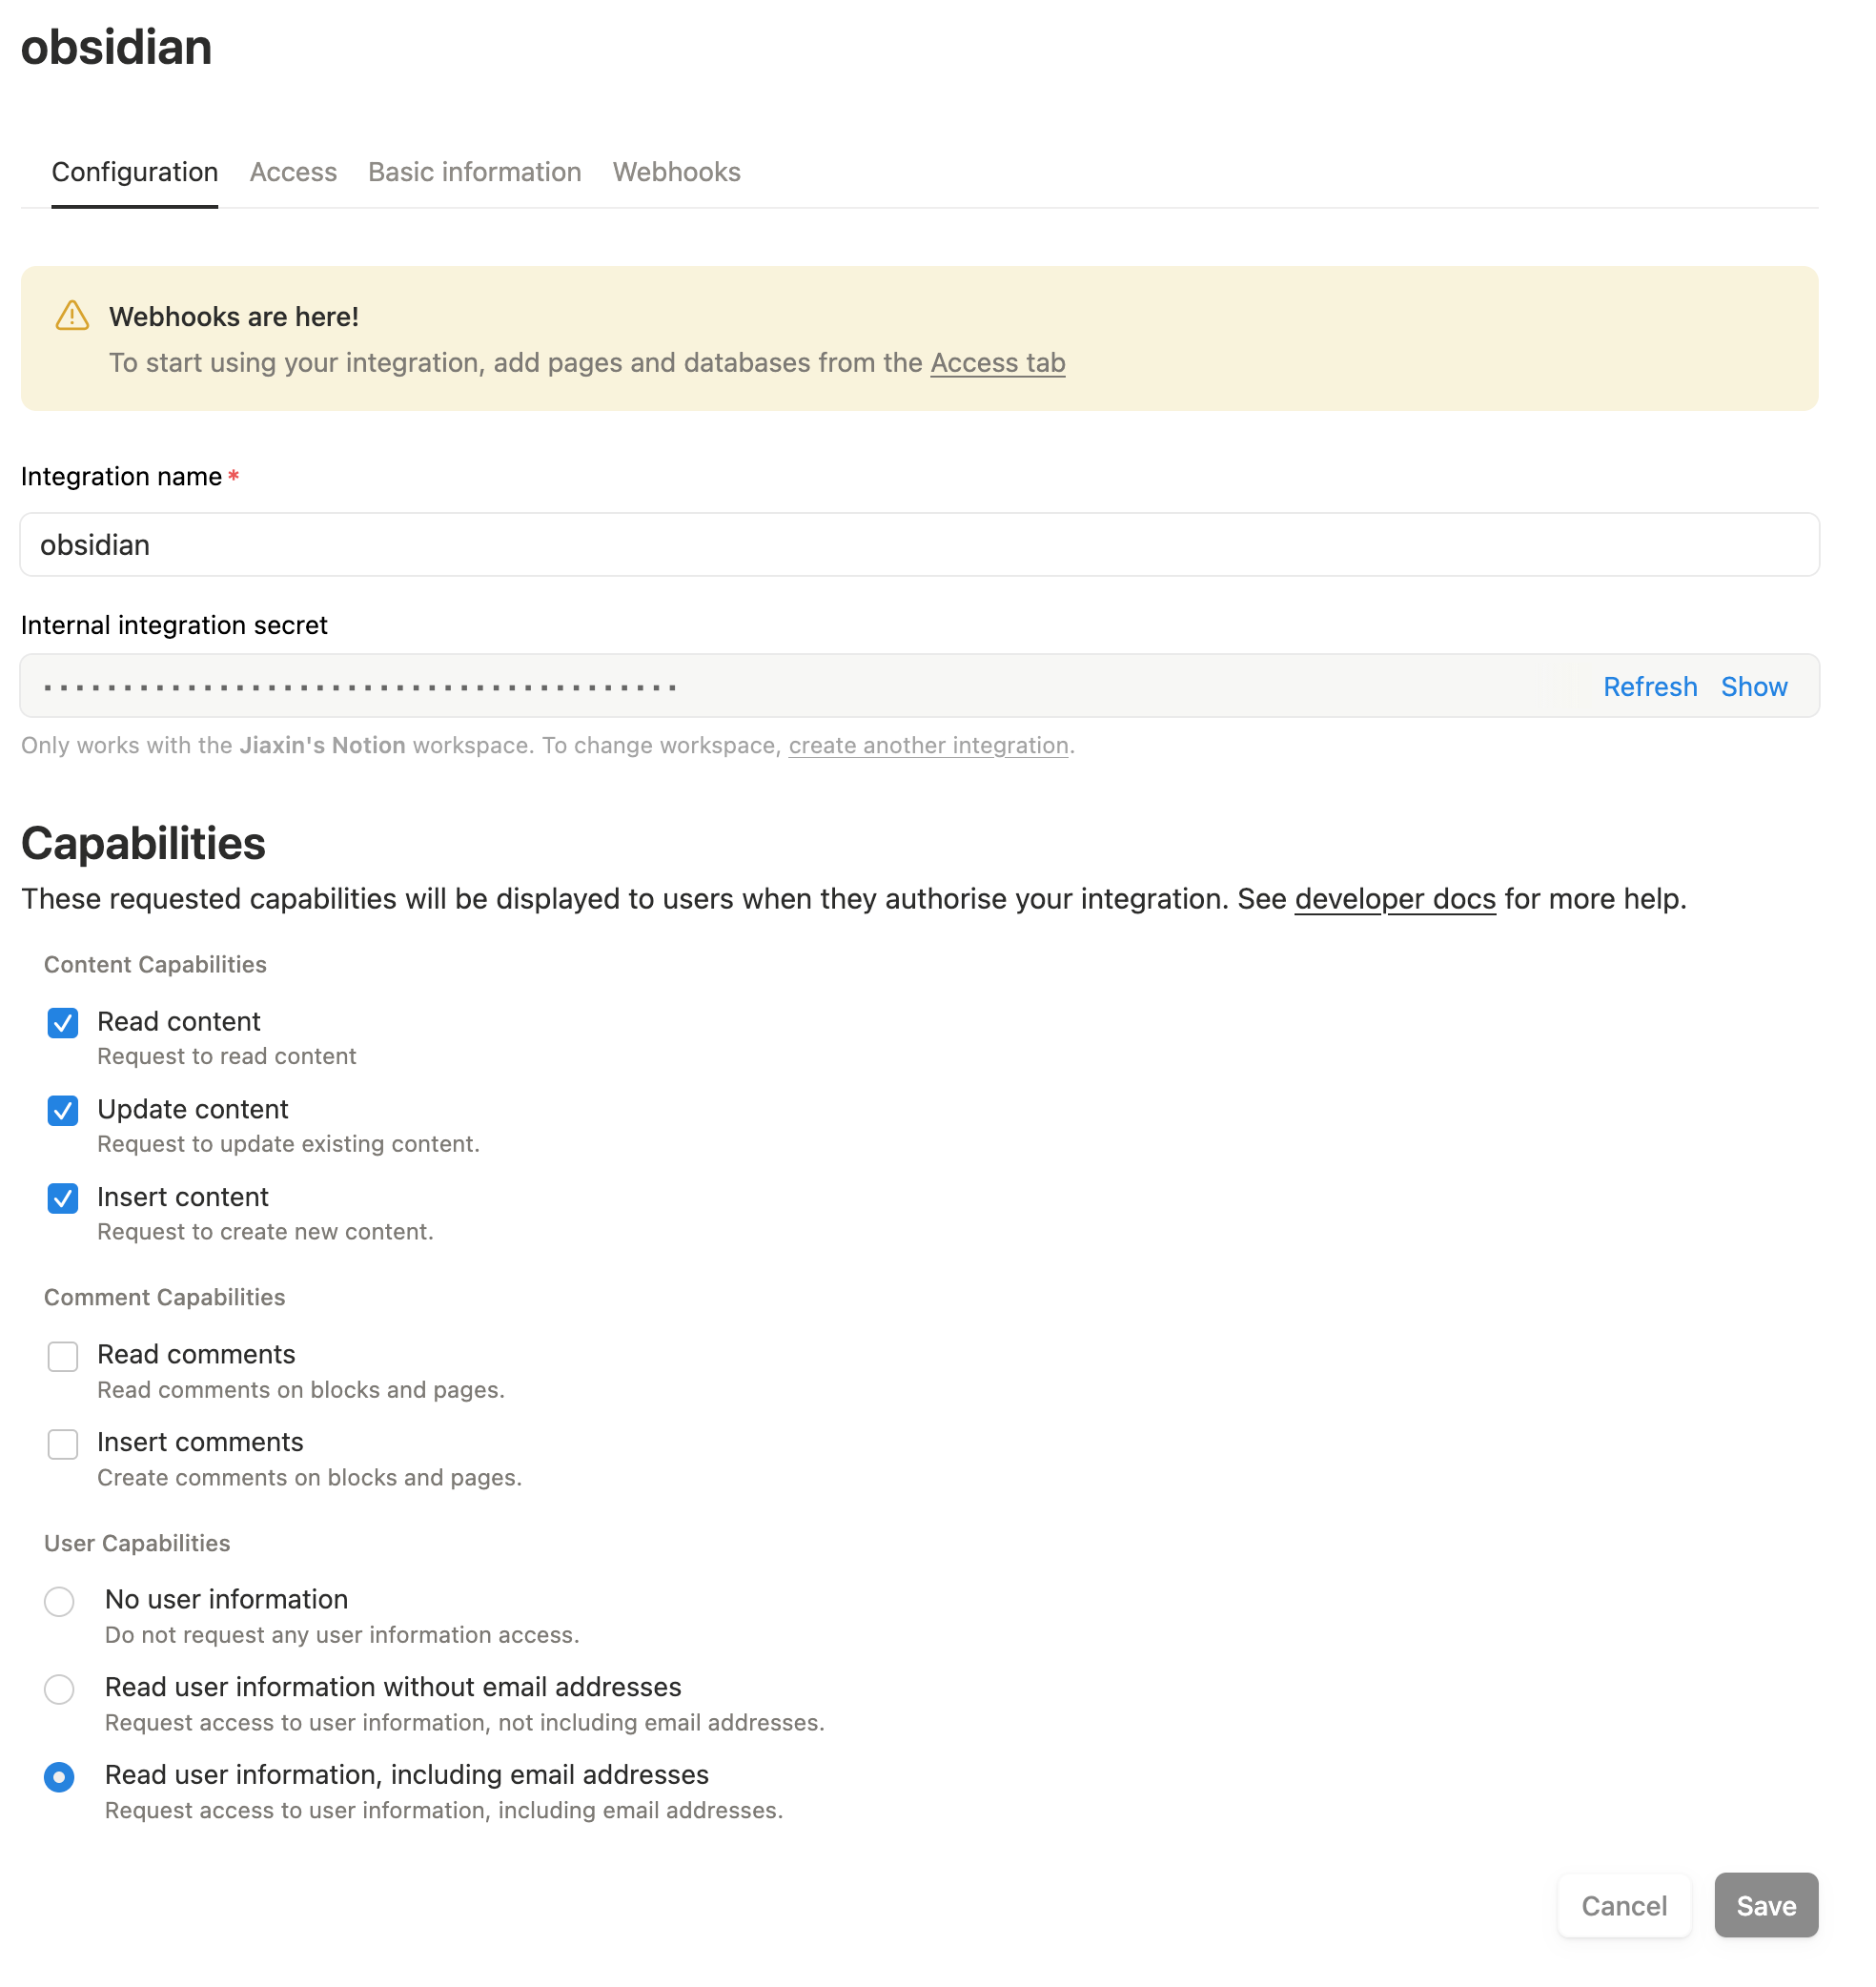
5. 进入“配置集成设置”页面,**准备好复制 API 令牌**,你很快就会在插件设置中用到它。
|
||
|
||
|
||
::: warning
|
||
**⚠️ 注意:** 请妥善保管你的 API 令牌,不要与他人分享,因为它授予了访问你 Notion 数据的权限。
|
||
:::
|
||
|
||
## 创建 Notion 数据库并连接集成
|
||
|
||
接下来,你需要创建一个 Notion 数据库,用于存放从 Obsidian 同步过来的笔记。
|
||
|
||
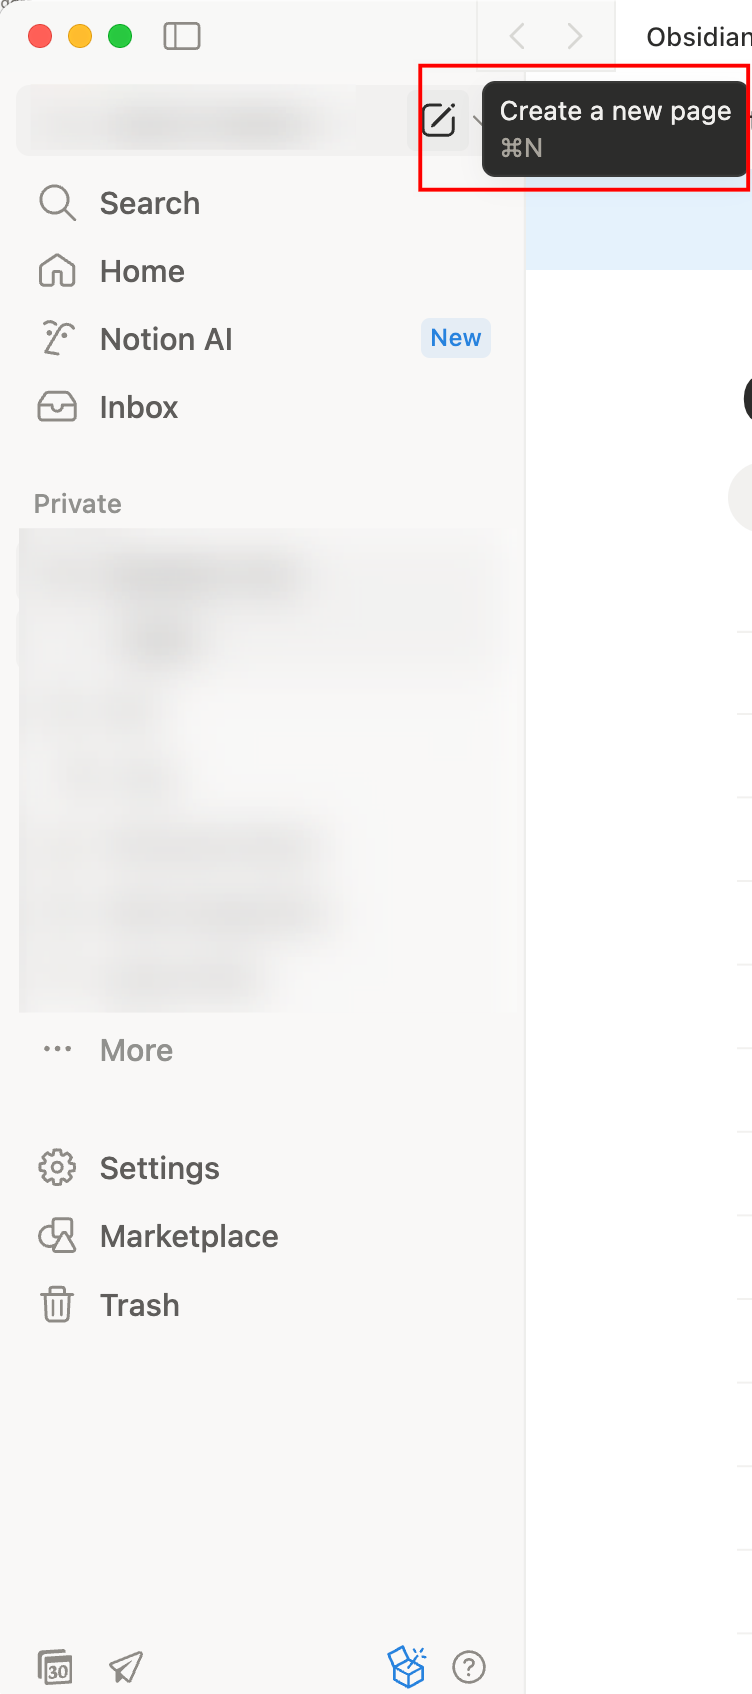
1. 在你的 Notion 工作区中,点击 `Create a new page` 来创建一个新页面。
|
||
|
||
|
||
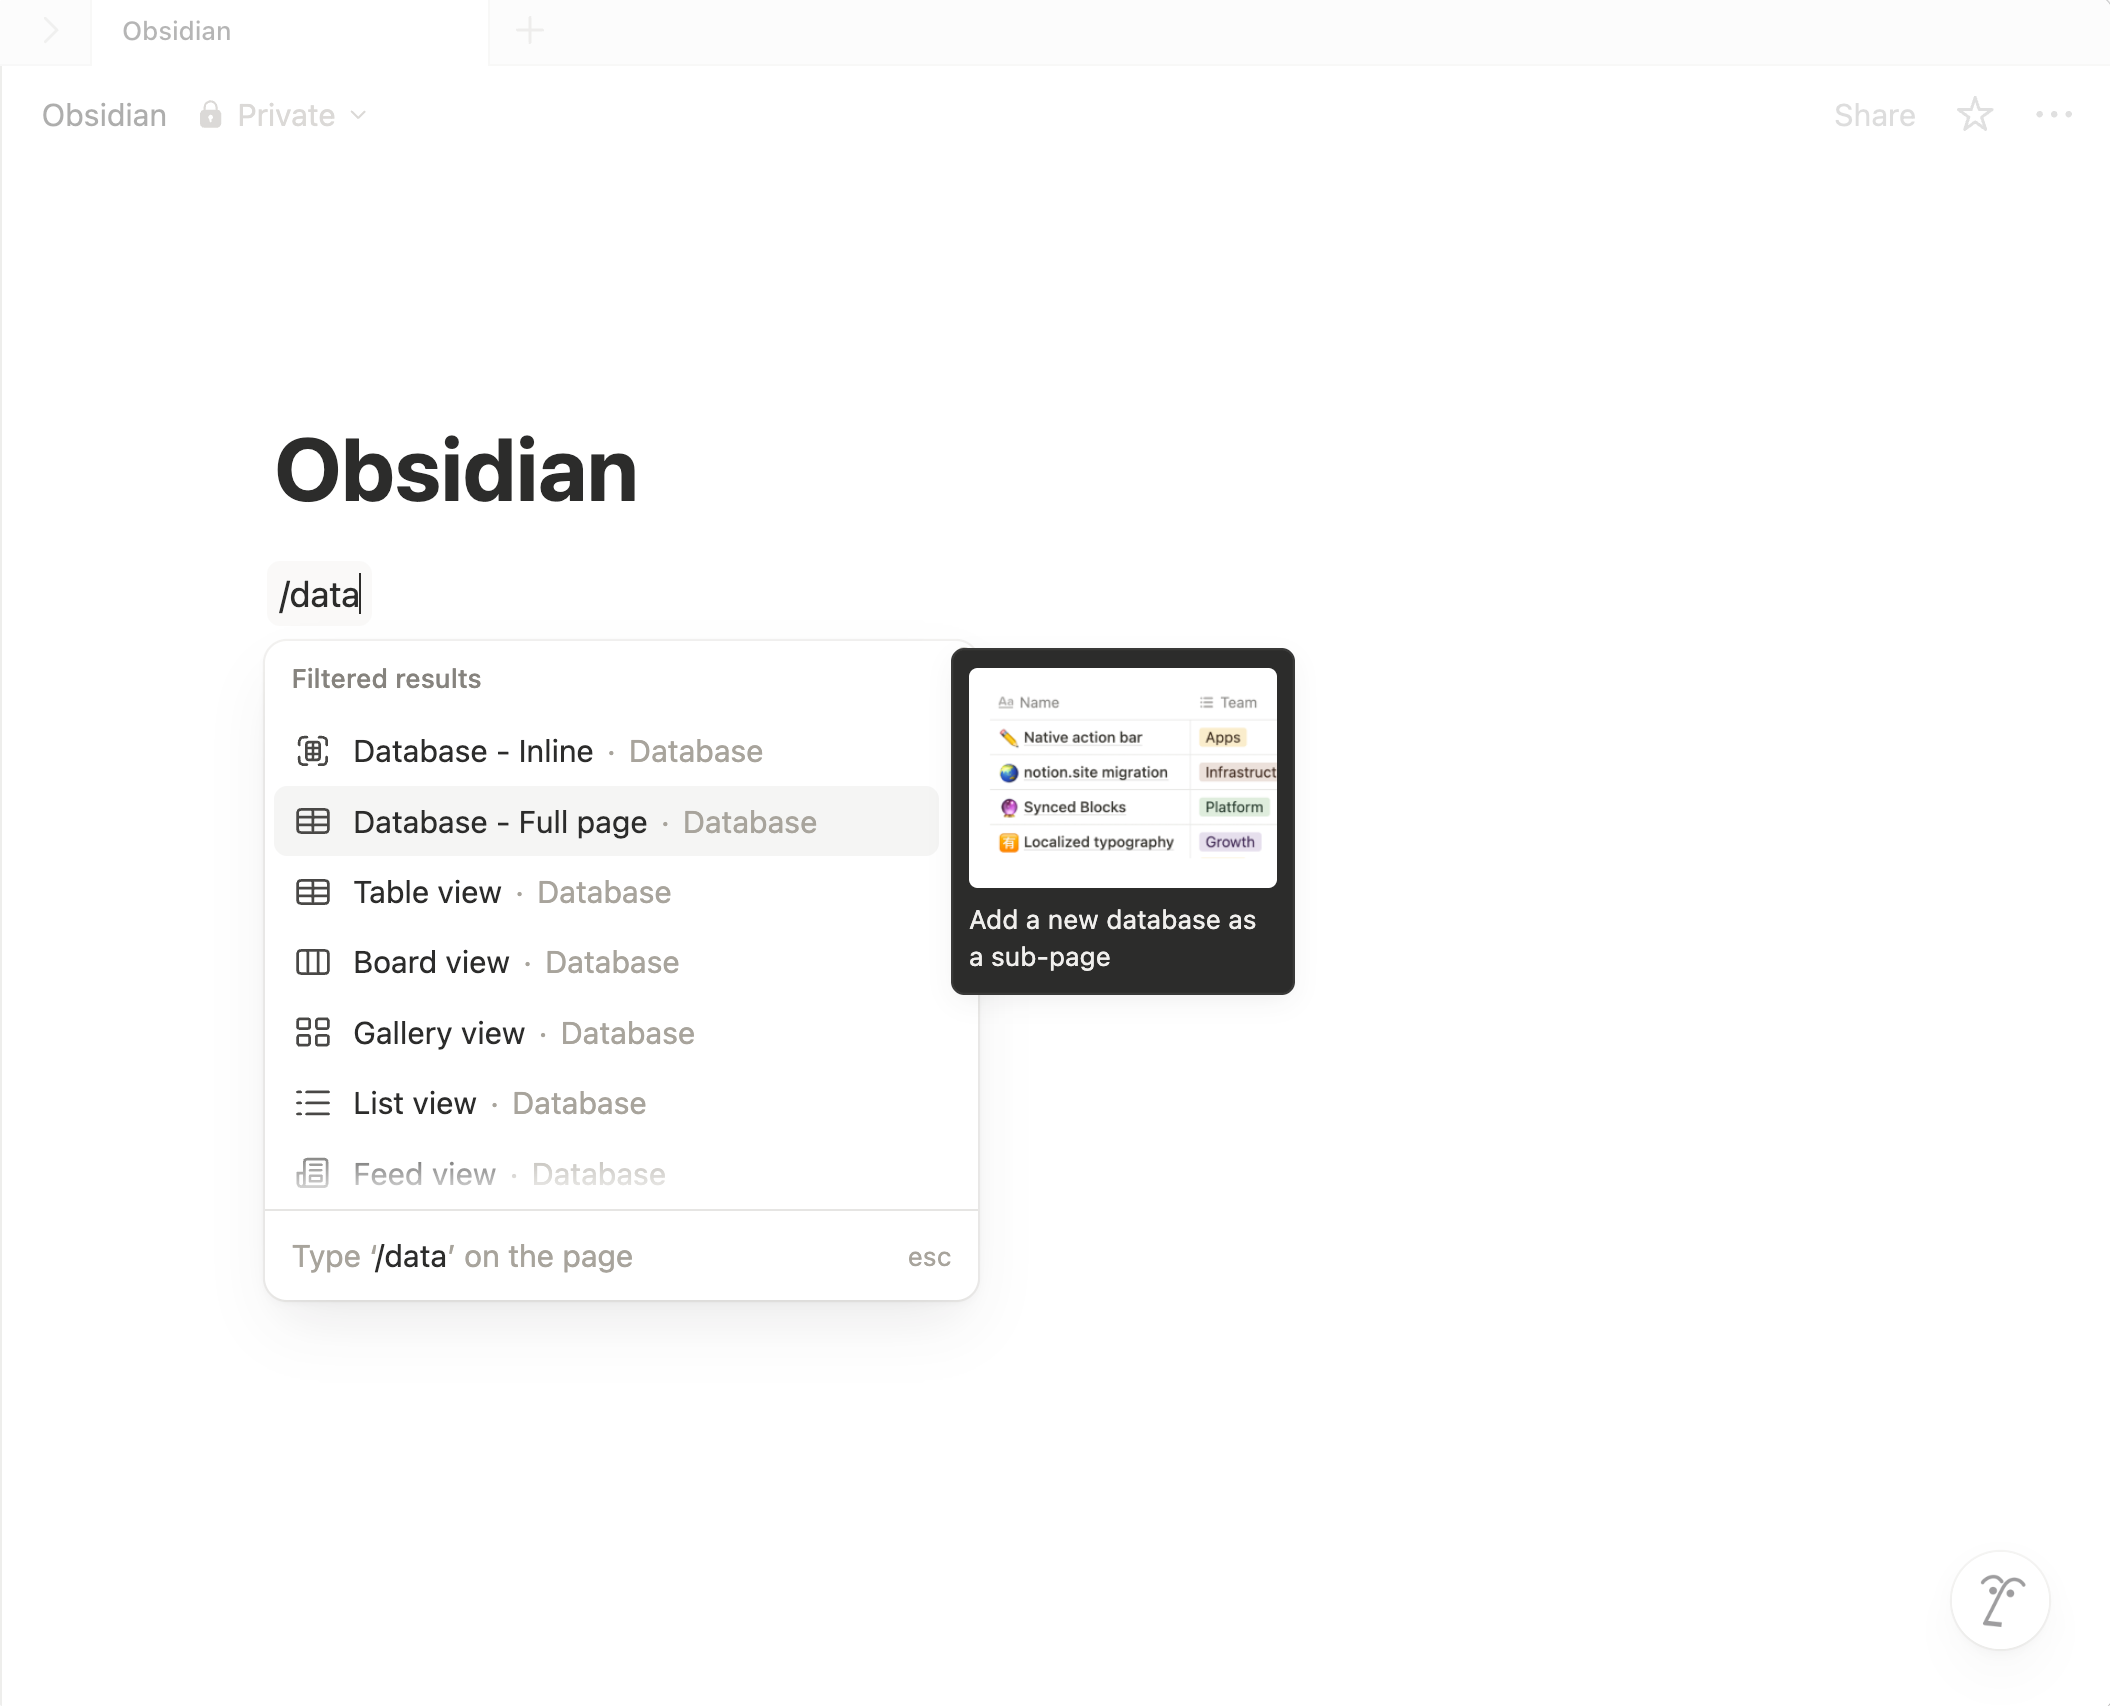
2. 创建一个新页面后,选择 `Database - Full page` 选项。
|
||
|
||
|
||
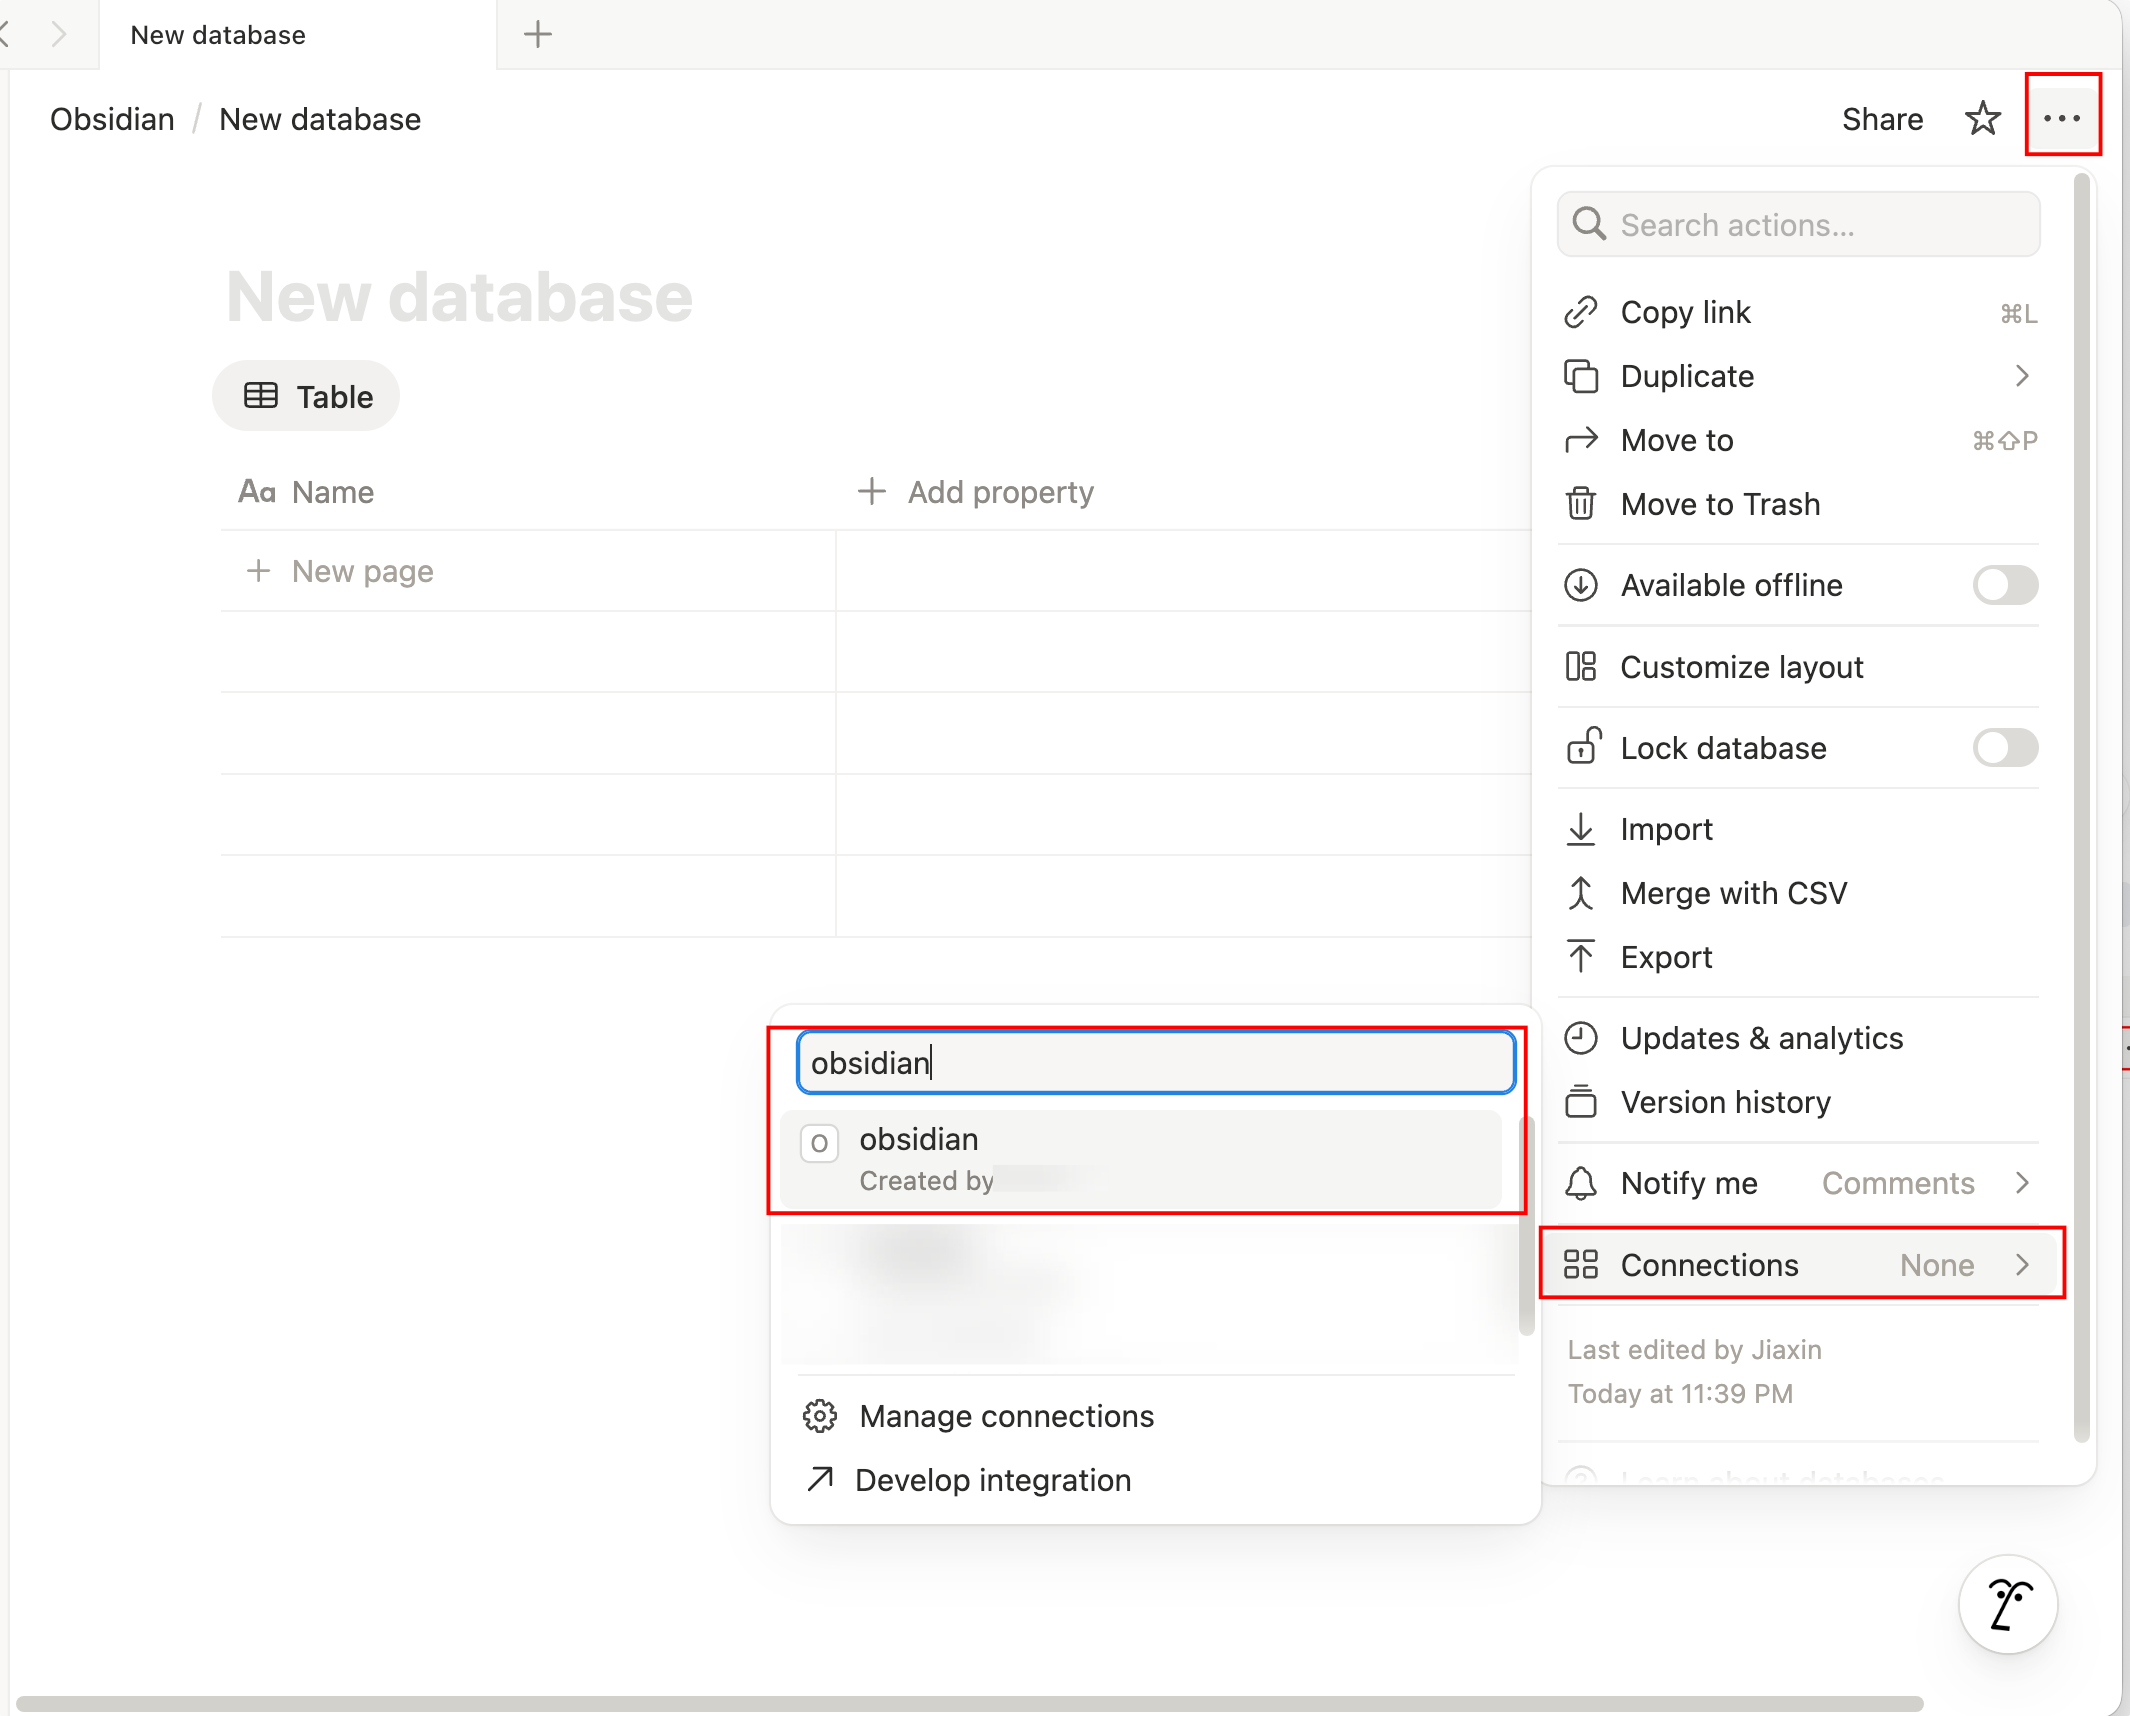
3. 点击数据库页面右上角的 `...` 菜单,进入 `Connections`,然后连接你刚刚创建的集成。
|
||
|
||
|
||
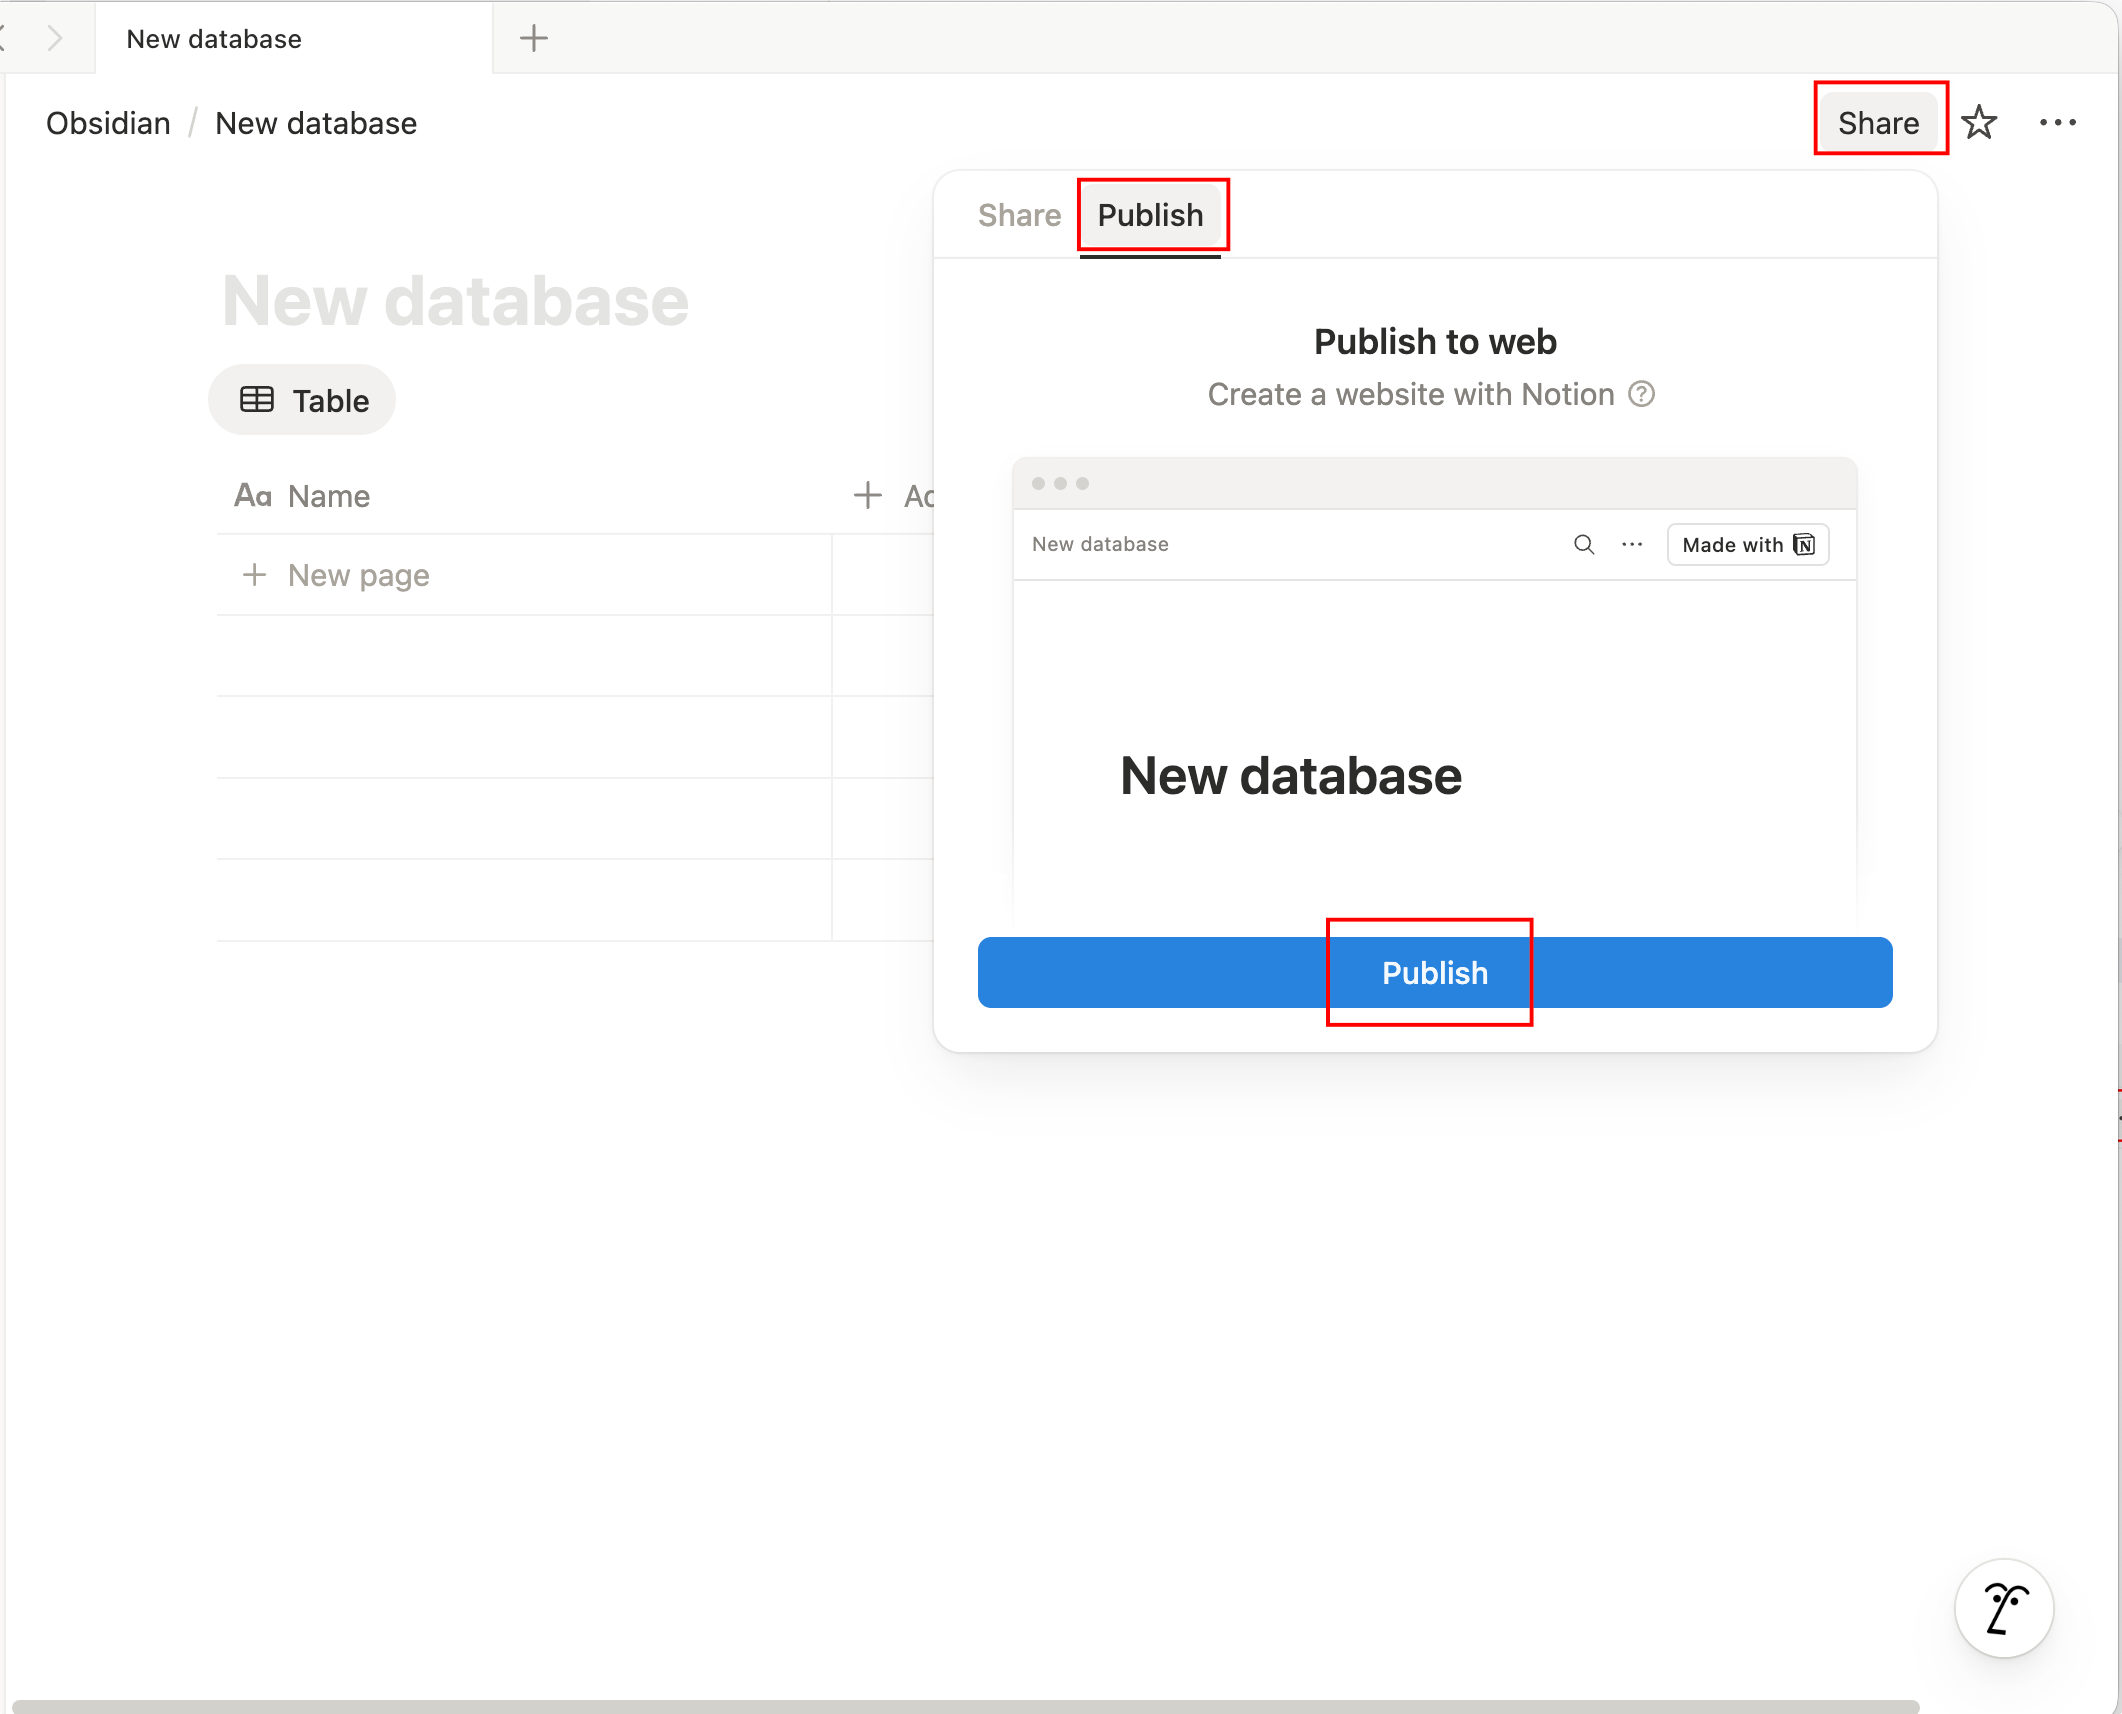
4. 点击 `Share` -> `Publish`,将数据库发布到网络。
|
||
|
||
|
||
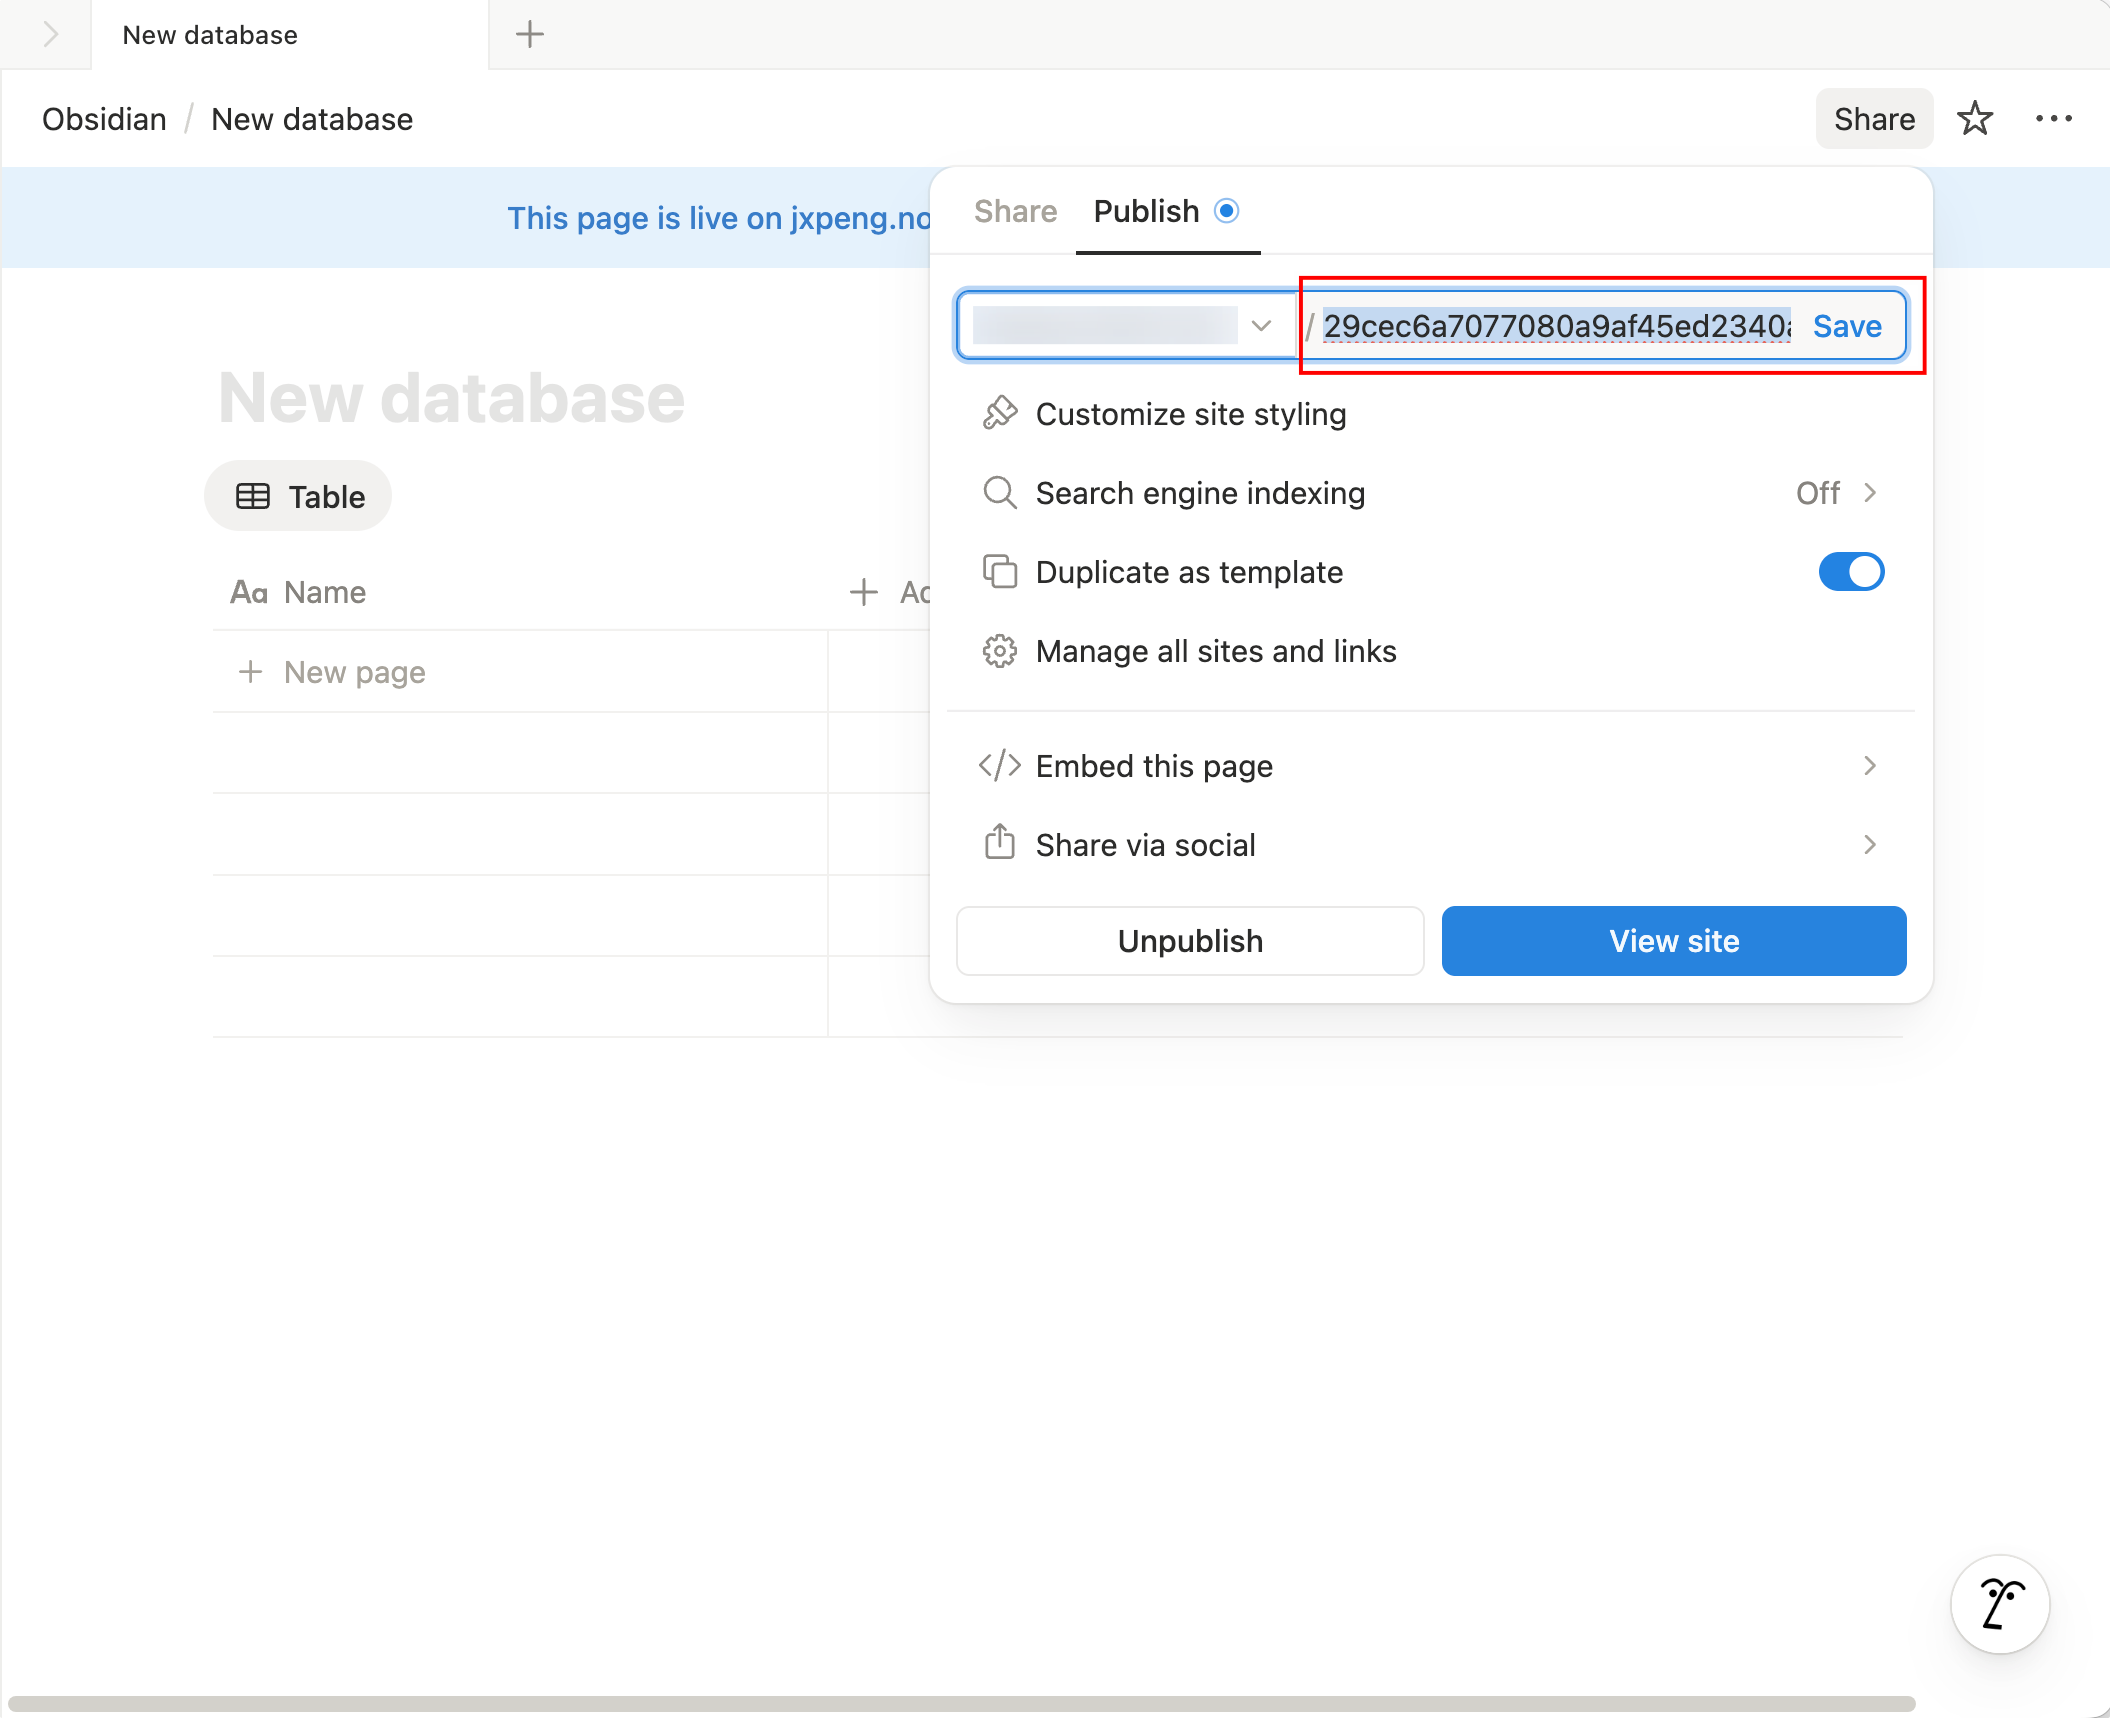
5. 点击并复制 **数据库 ID**。
|
||
|
||
|
||
接下来,你可以根据[安装指南](./02-installation.md)在 Obsidian 中安装和配置插件了。
|