mirror of
https://github.com/jxpeng98/obsidian-to-NotionNext
synced 2026-07-29 16:35:57 +08:00

29 lines
1.2 KiB
Markdown
29 lines
1.2 KiB
Markdown
---
|
|
title: Installation
|
|
description: Guide to installing the Obsidian to NotionNext plugin
|
|
---
|
|
|
|
# Installation
|
|
|
|
Once you have completed the previous section setup on the Notion side, you can install and configure the plugin in Obsidian.
|
|
|
|
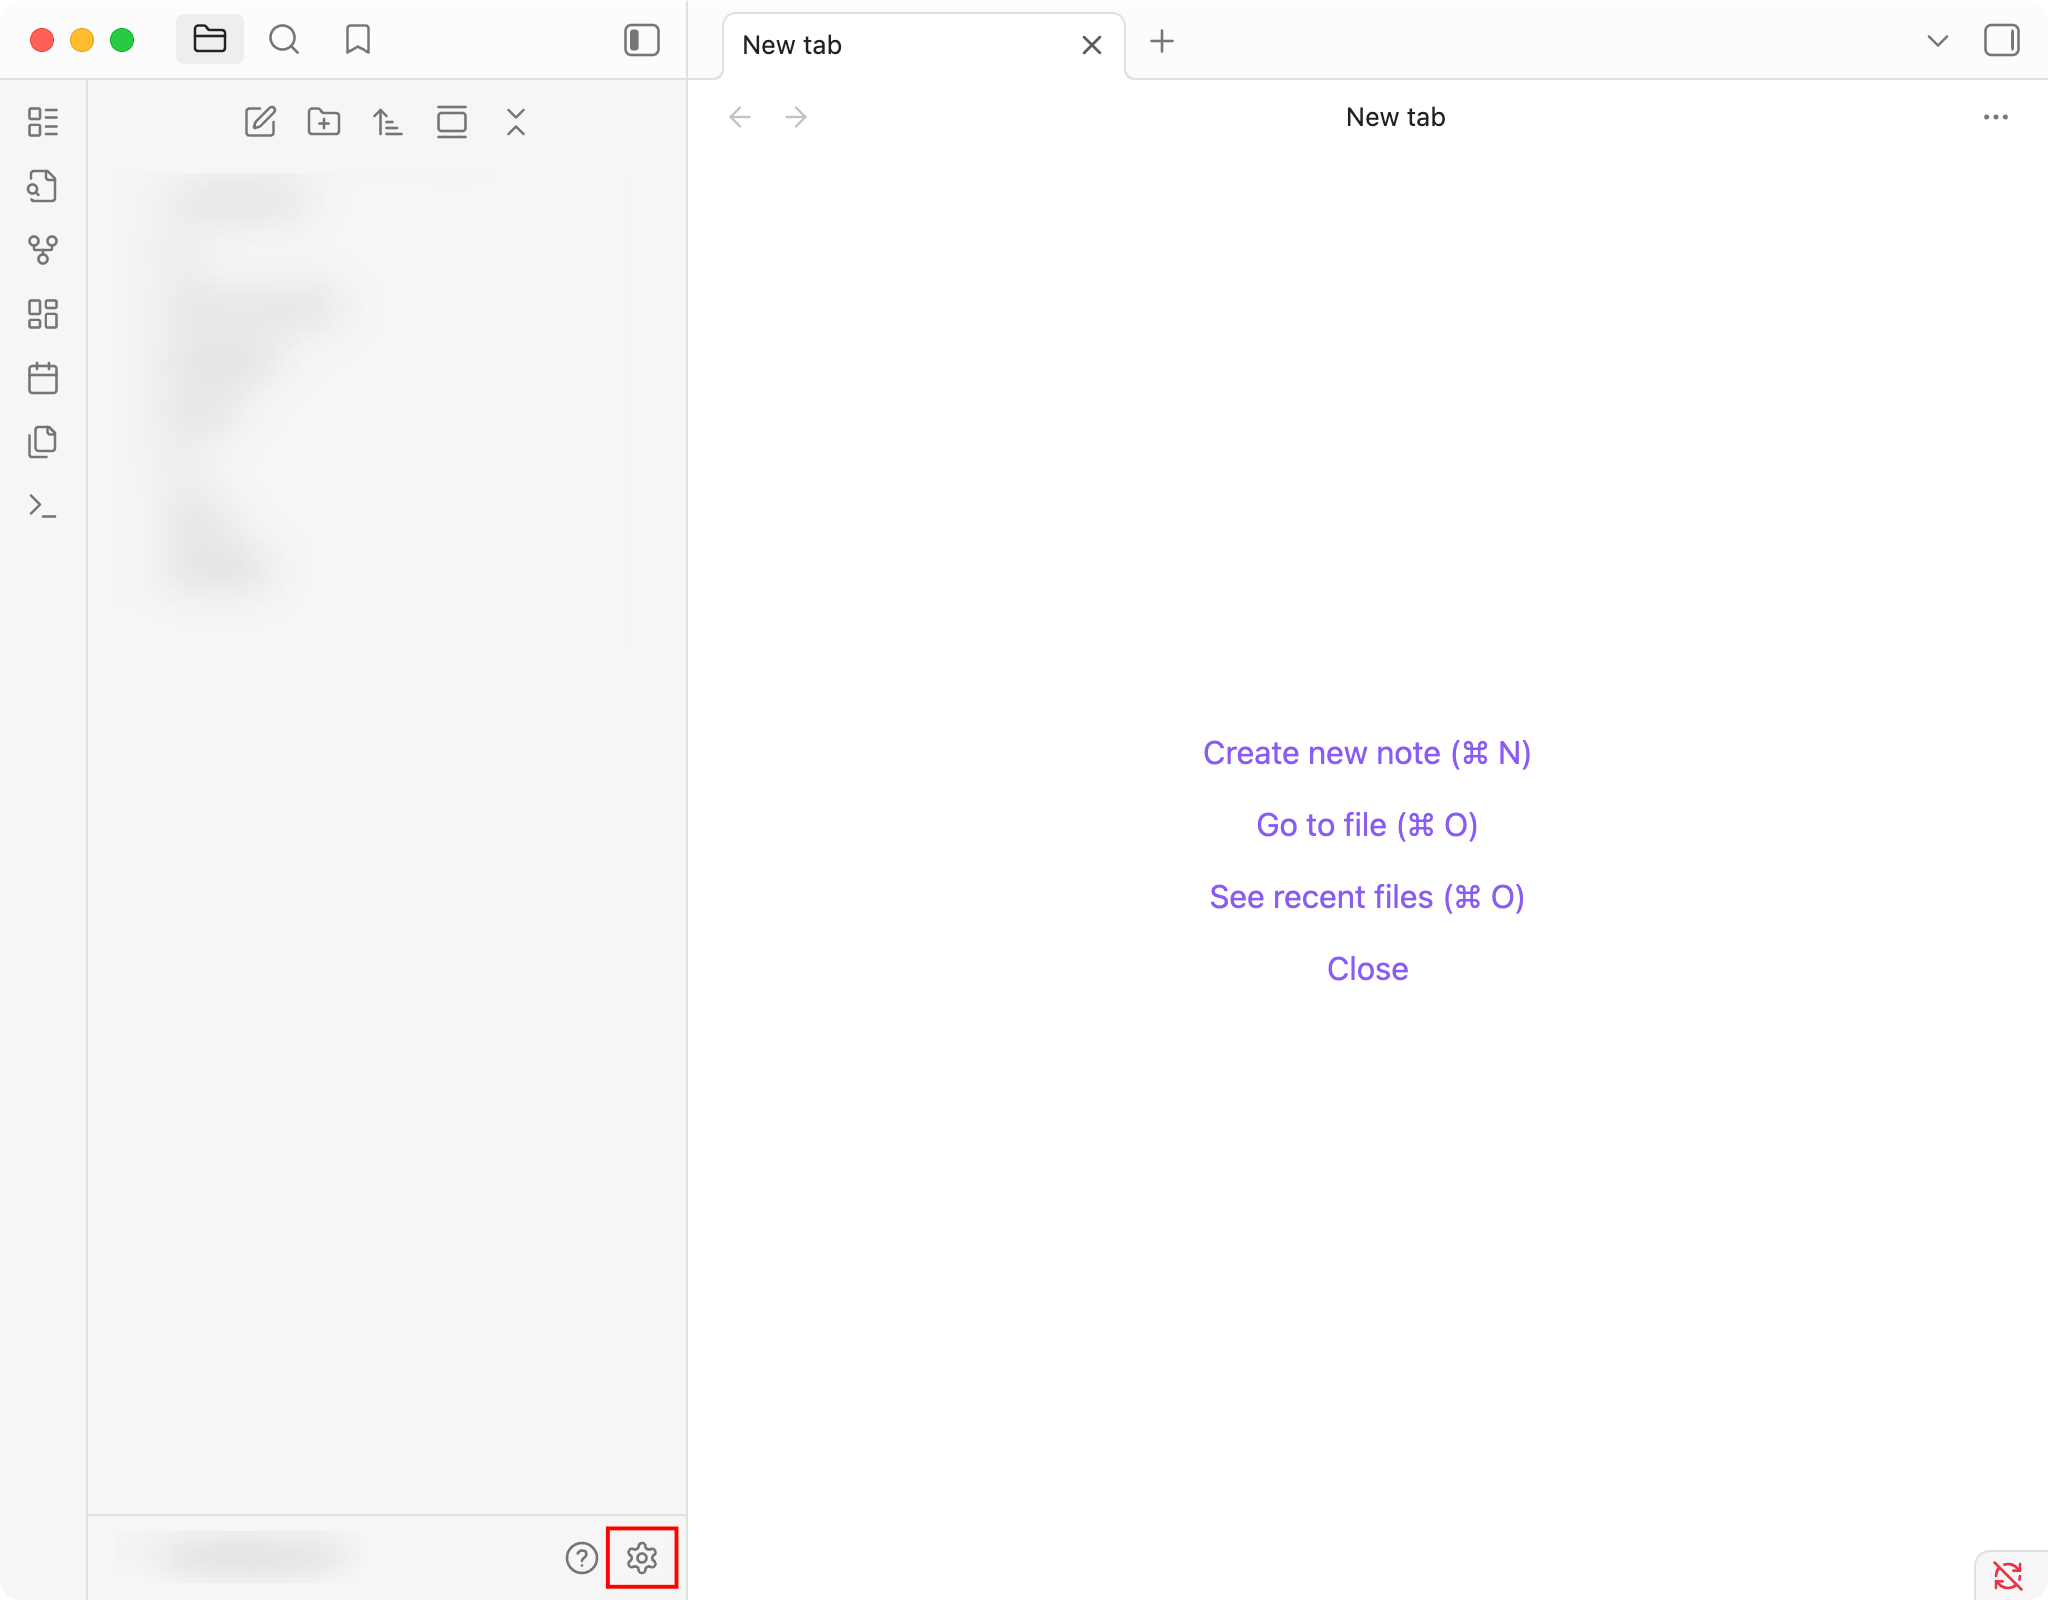
1. Open Obsidian's `Settings`.
|
|
|
|
|
|
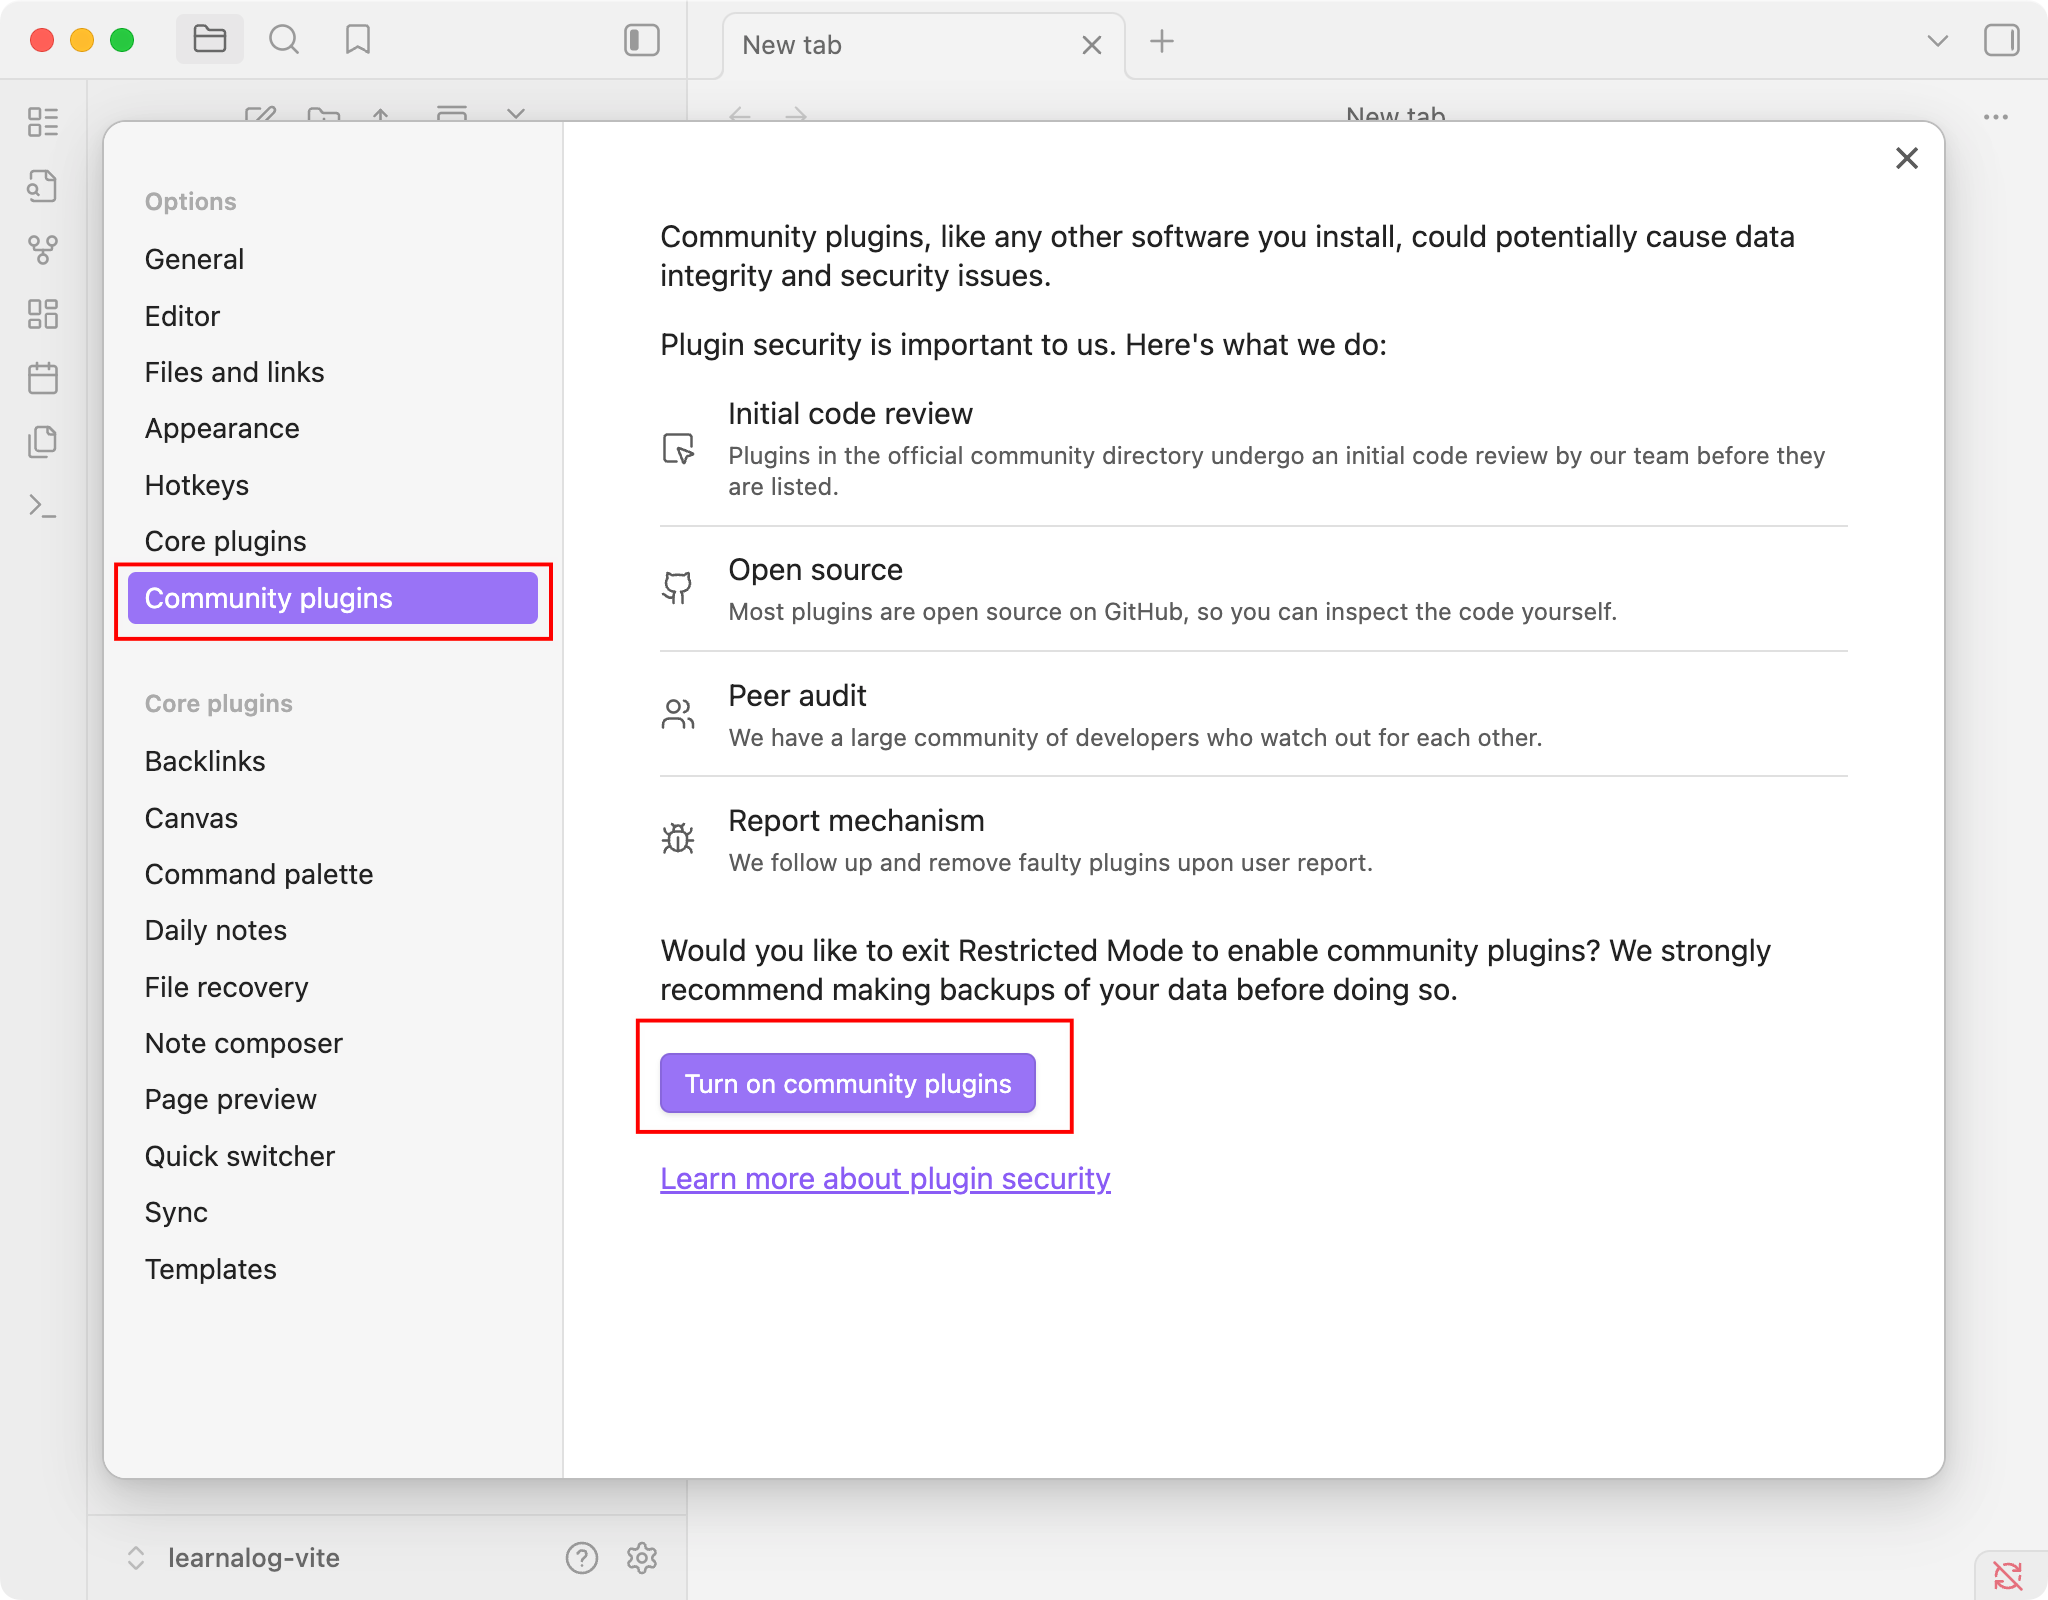
2. Navigate to `Community plugins`.
|
|
|
|
::: tip
|
|
If you haven't enabled community plugins before, you may need to turn off `Safe mode` first (`Turn on Community plugins`).
|
|
:::
|
|
|
|
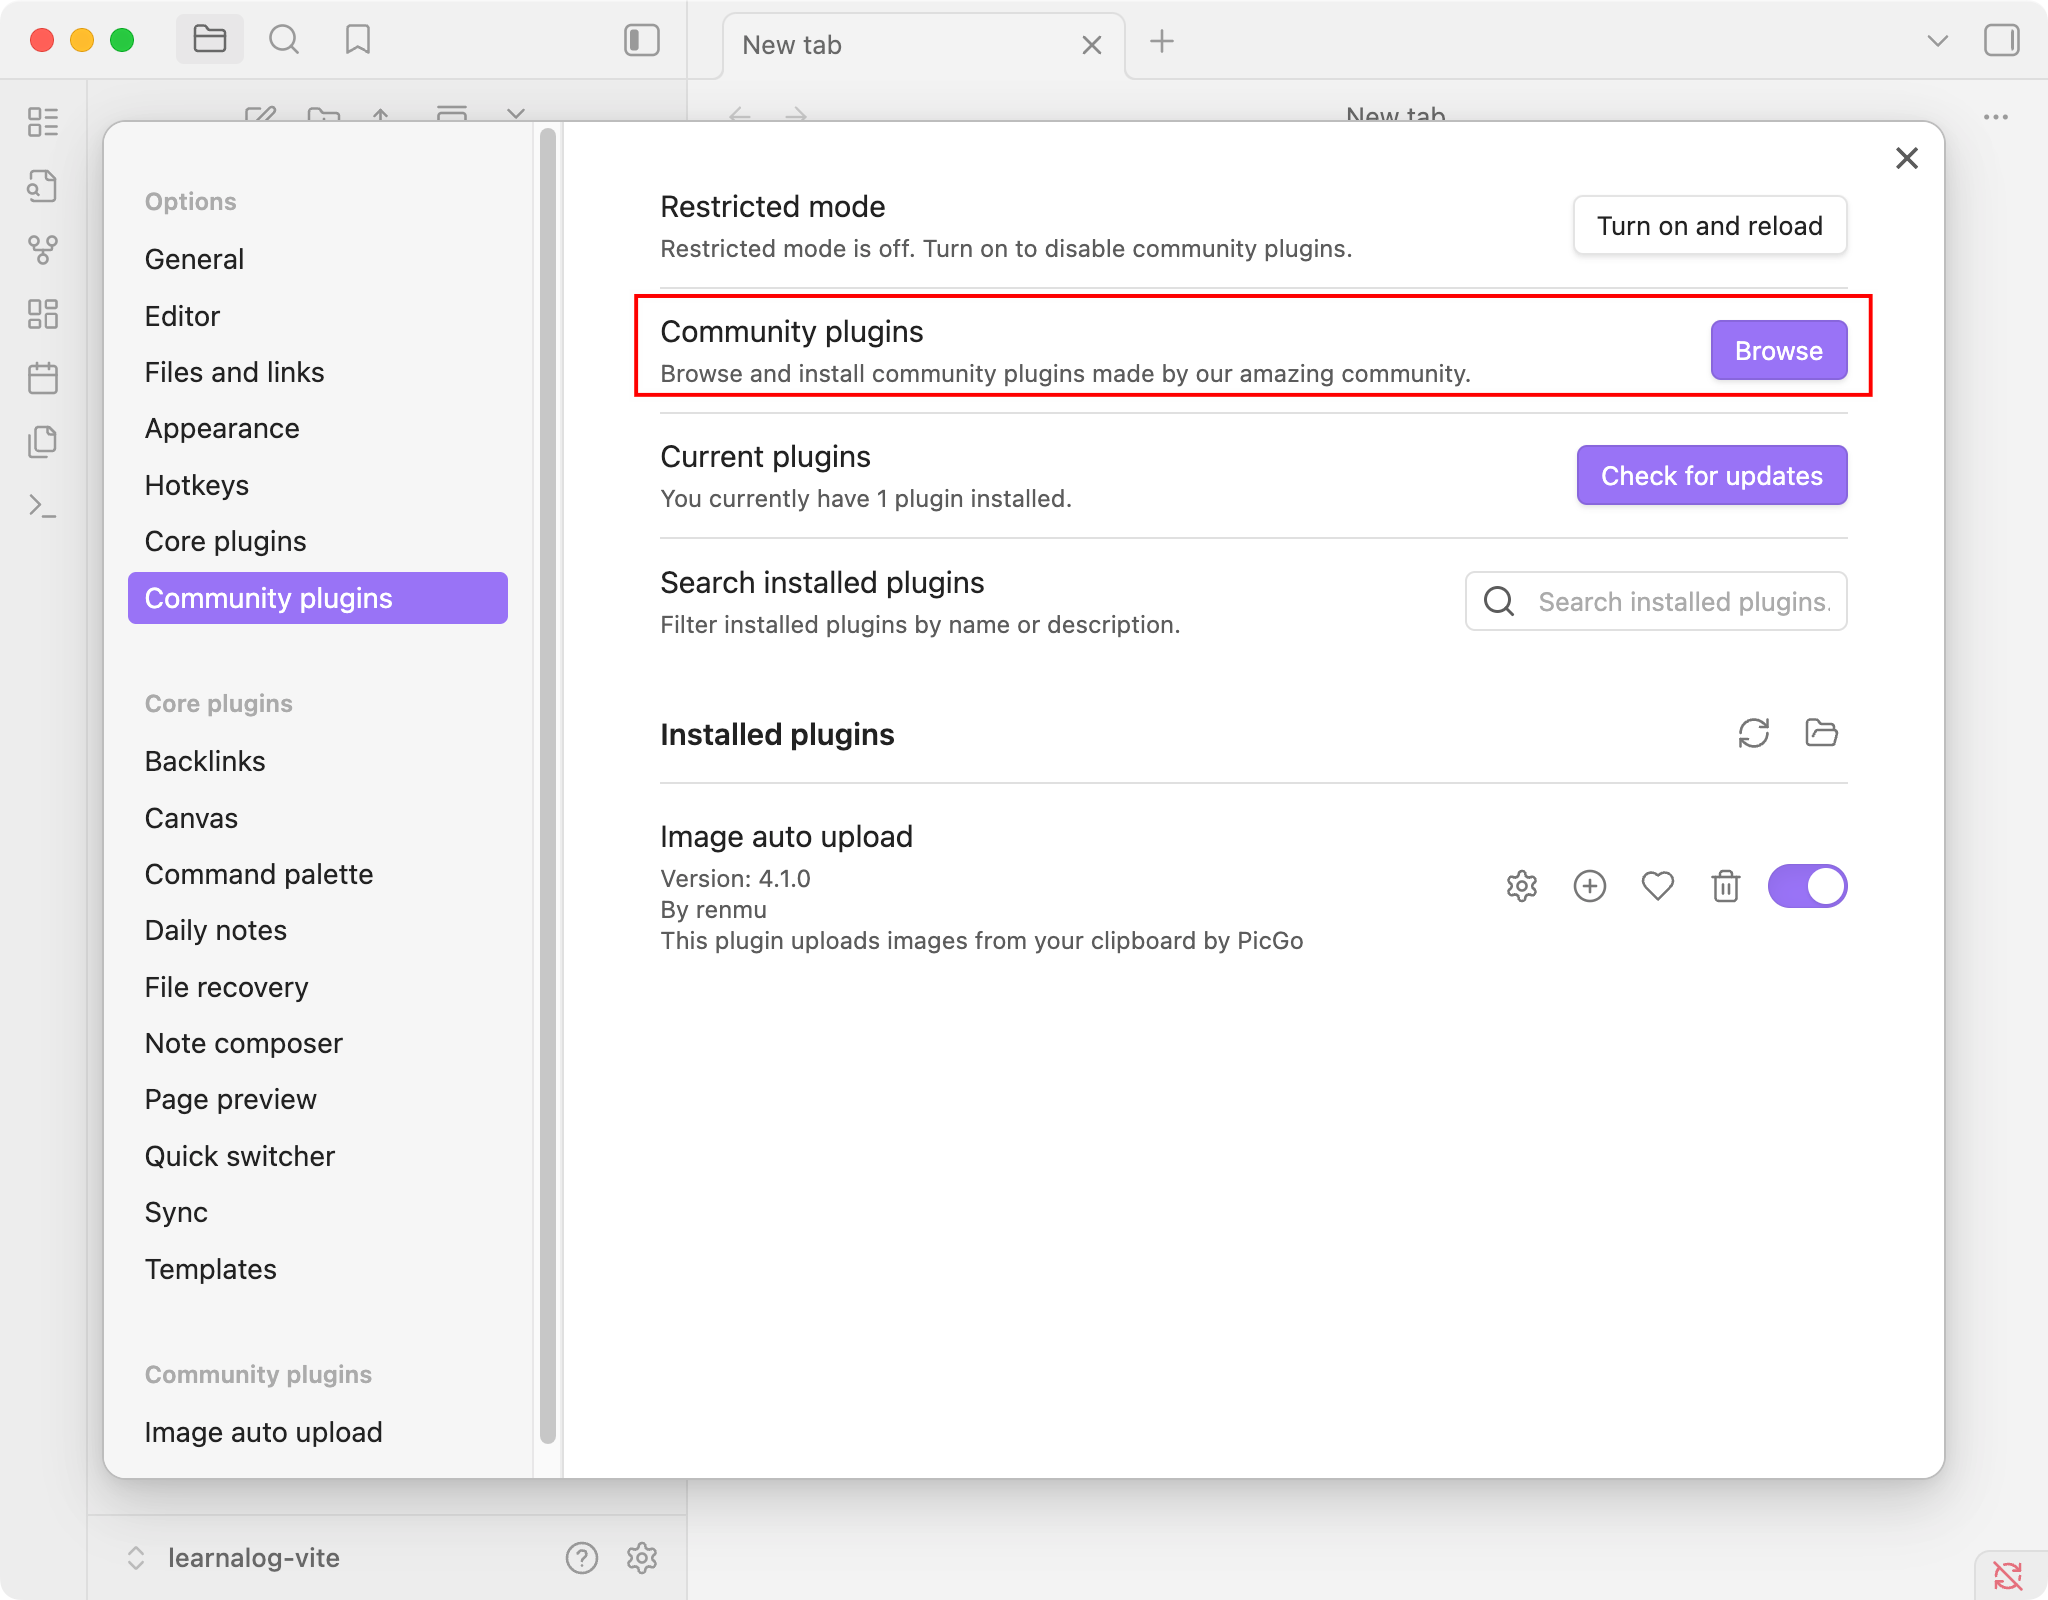
3. Go to `Community plugins` -> `Browse`.
|
|
|
|
|
|
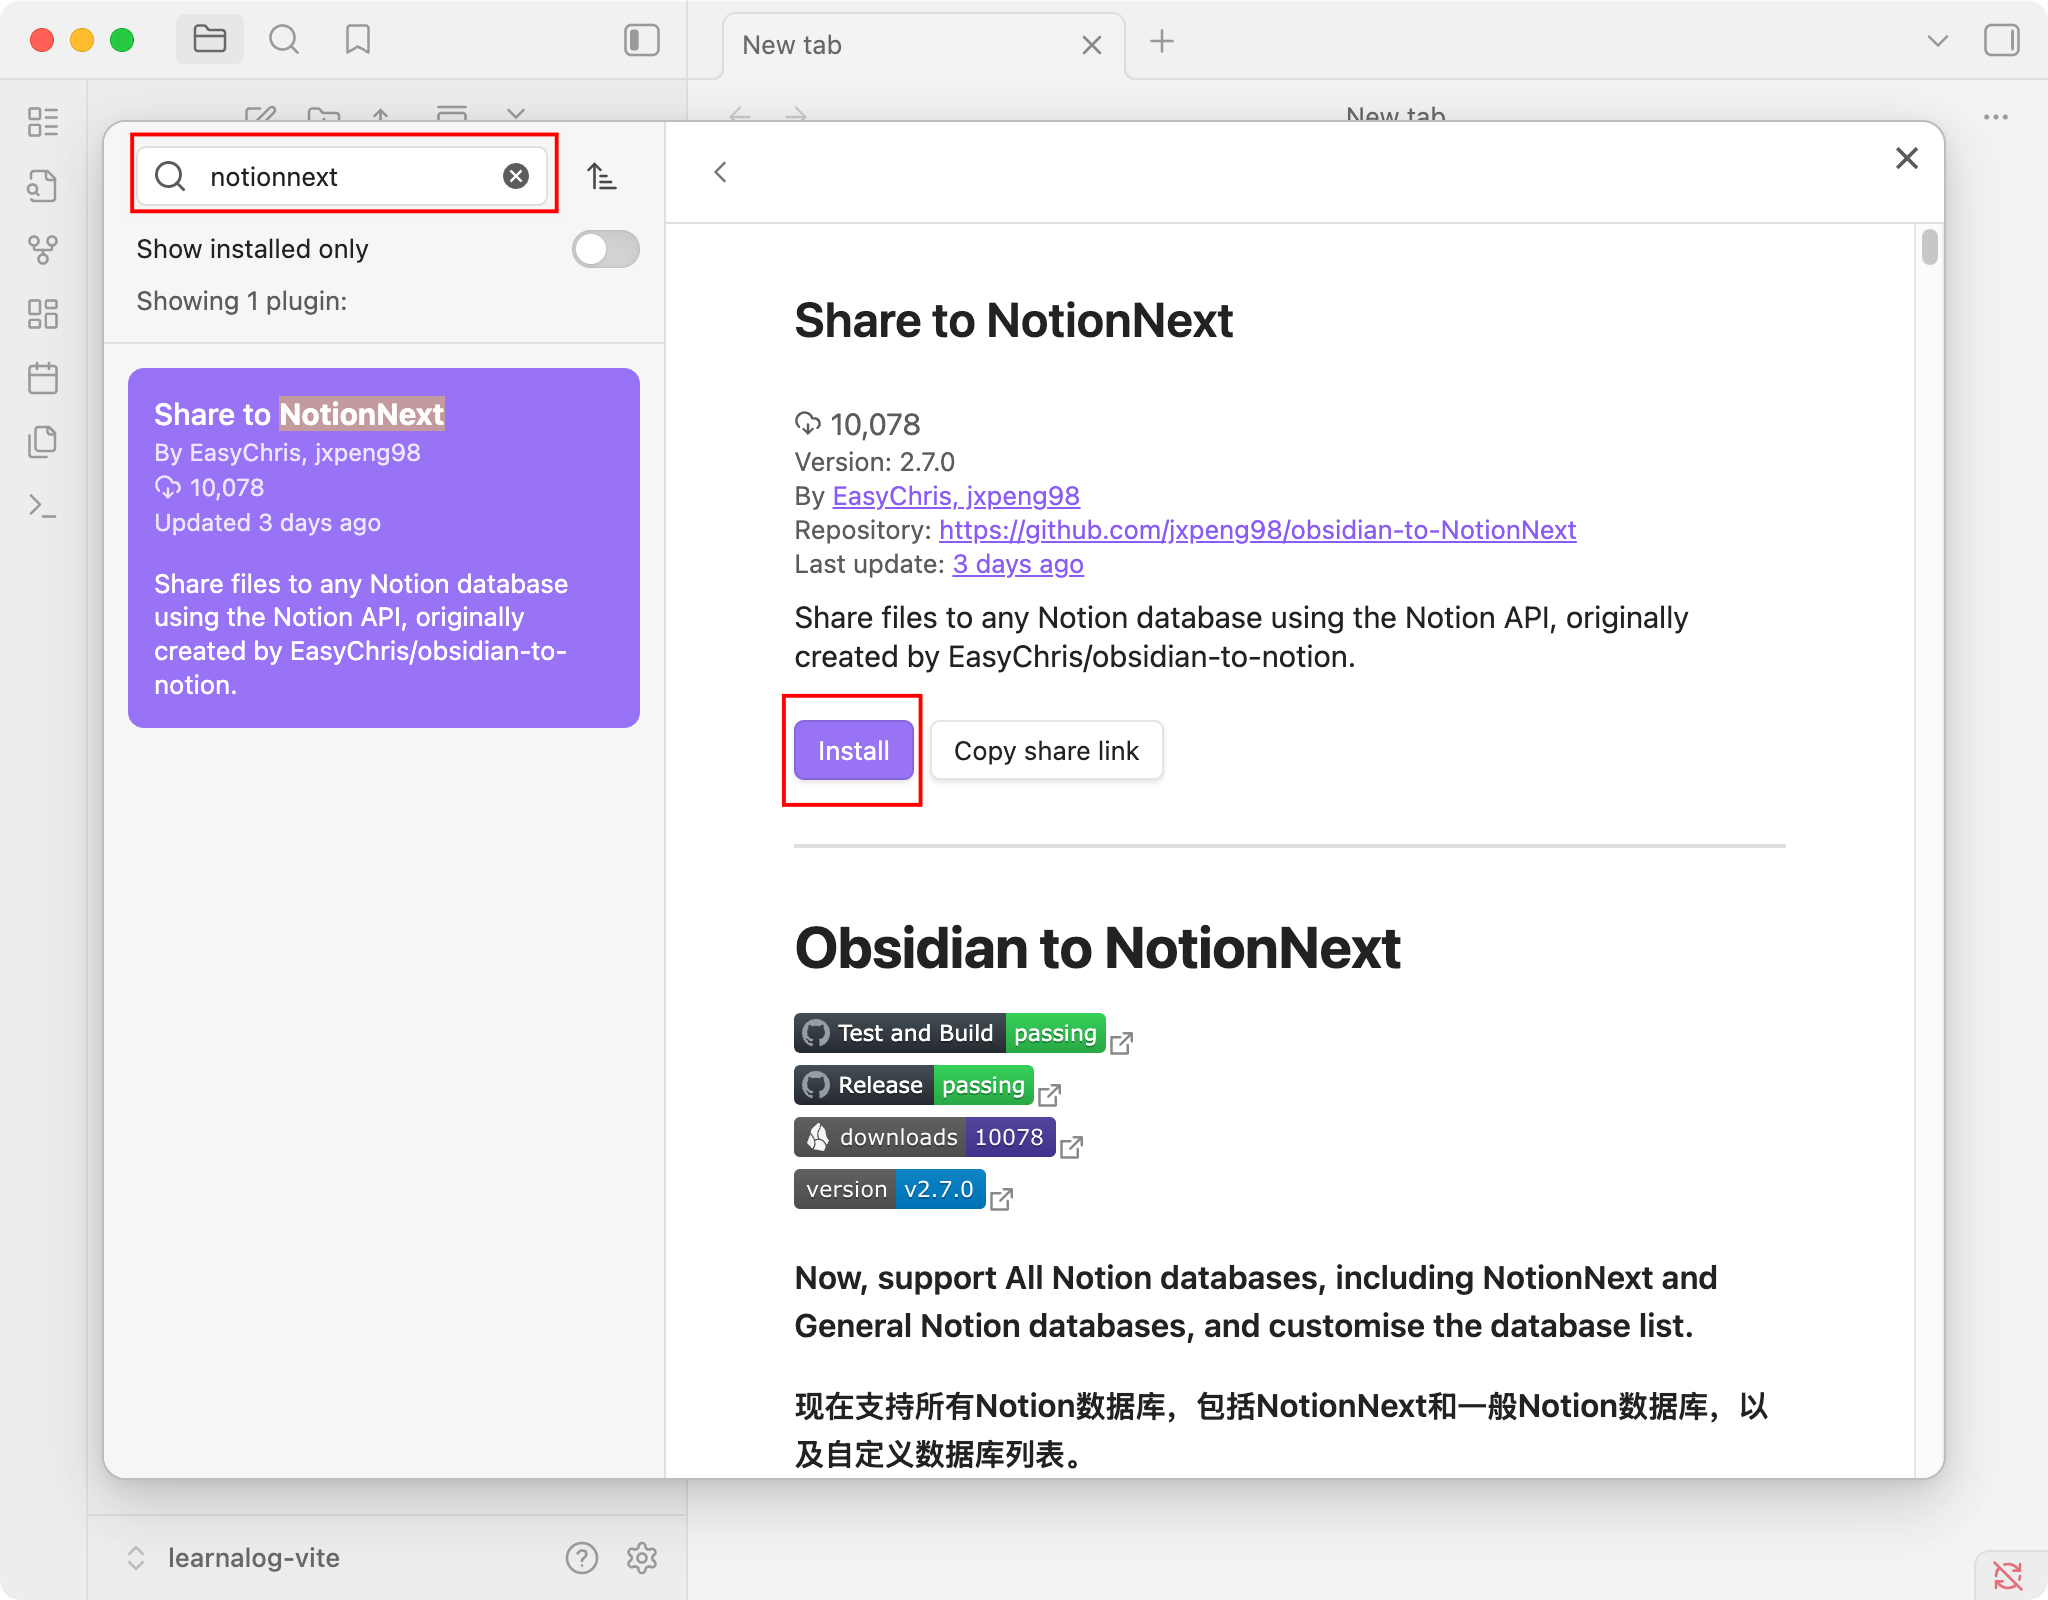
4. Search for "NotionNext" and click `Install`.
|
|
|
|
|
|
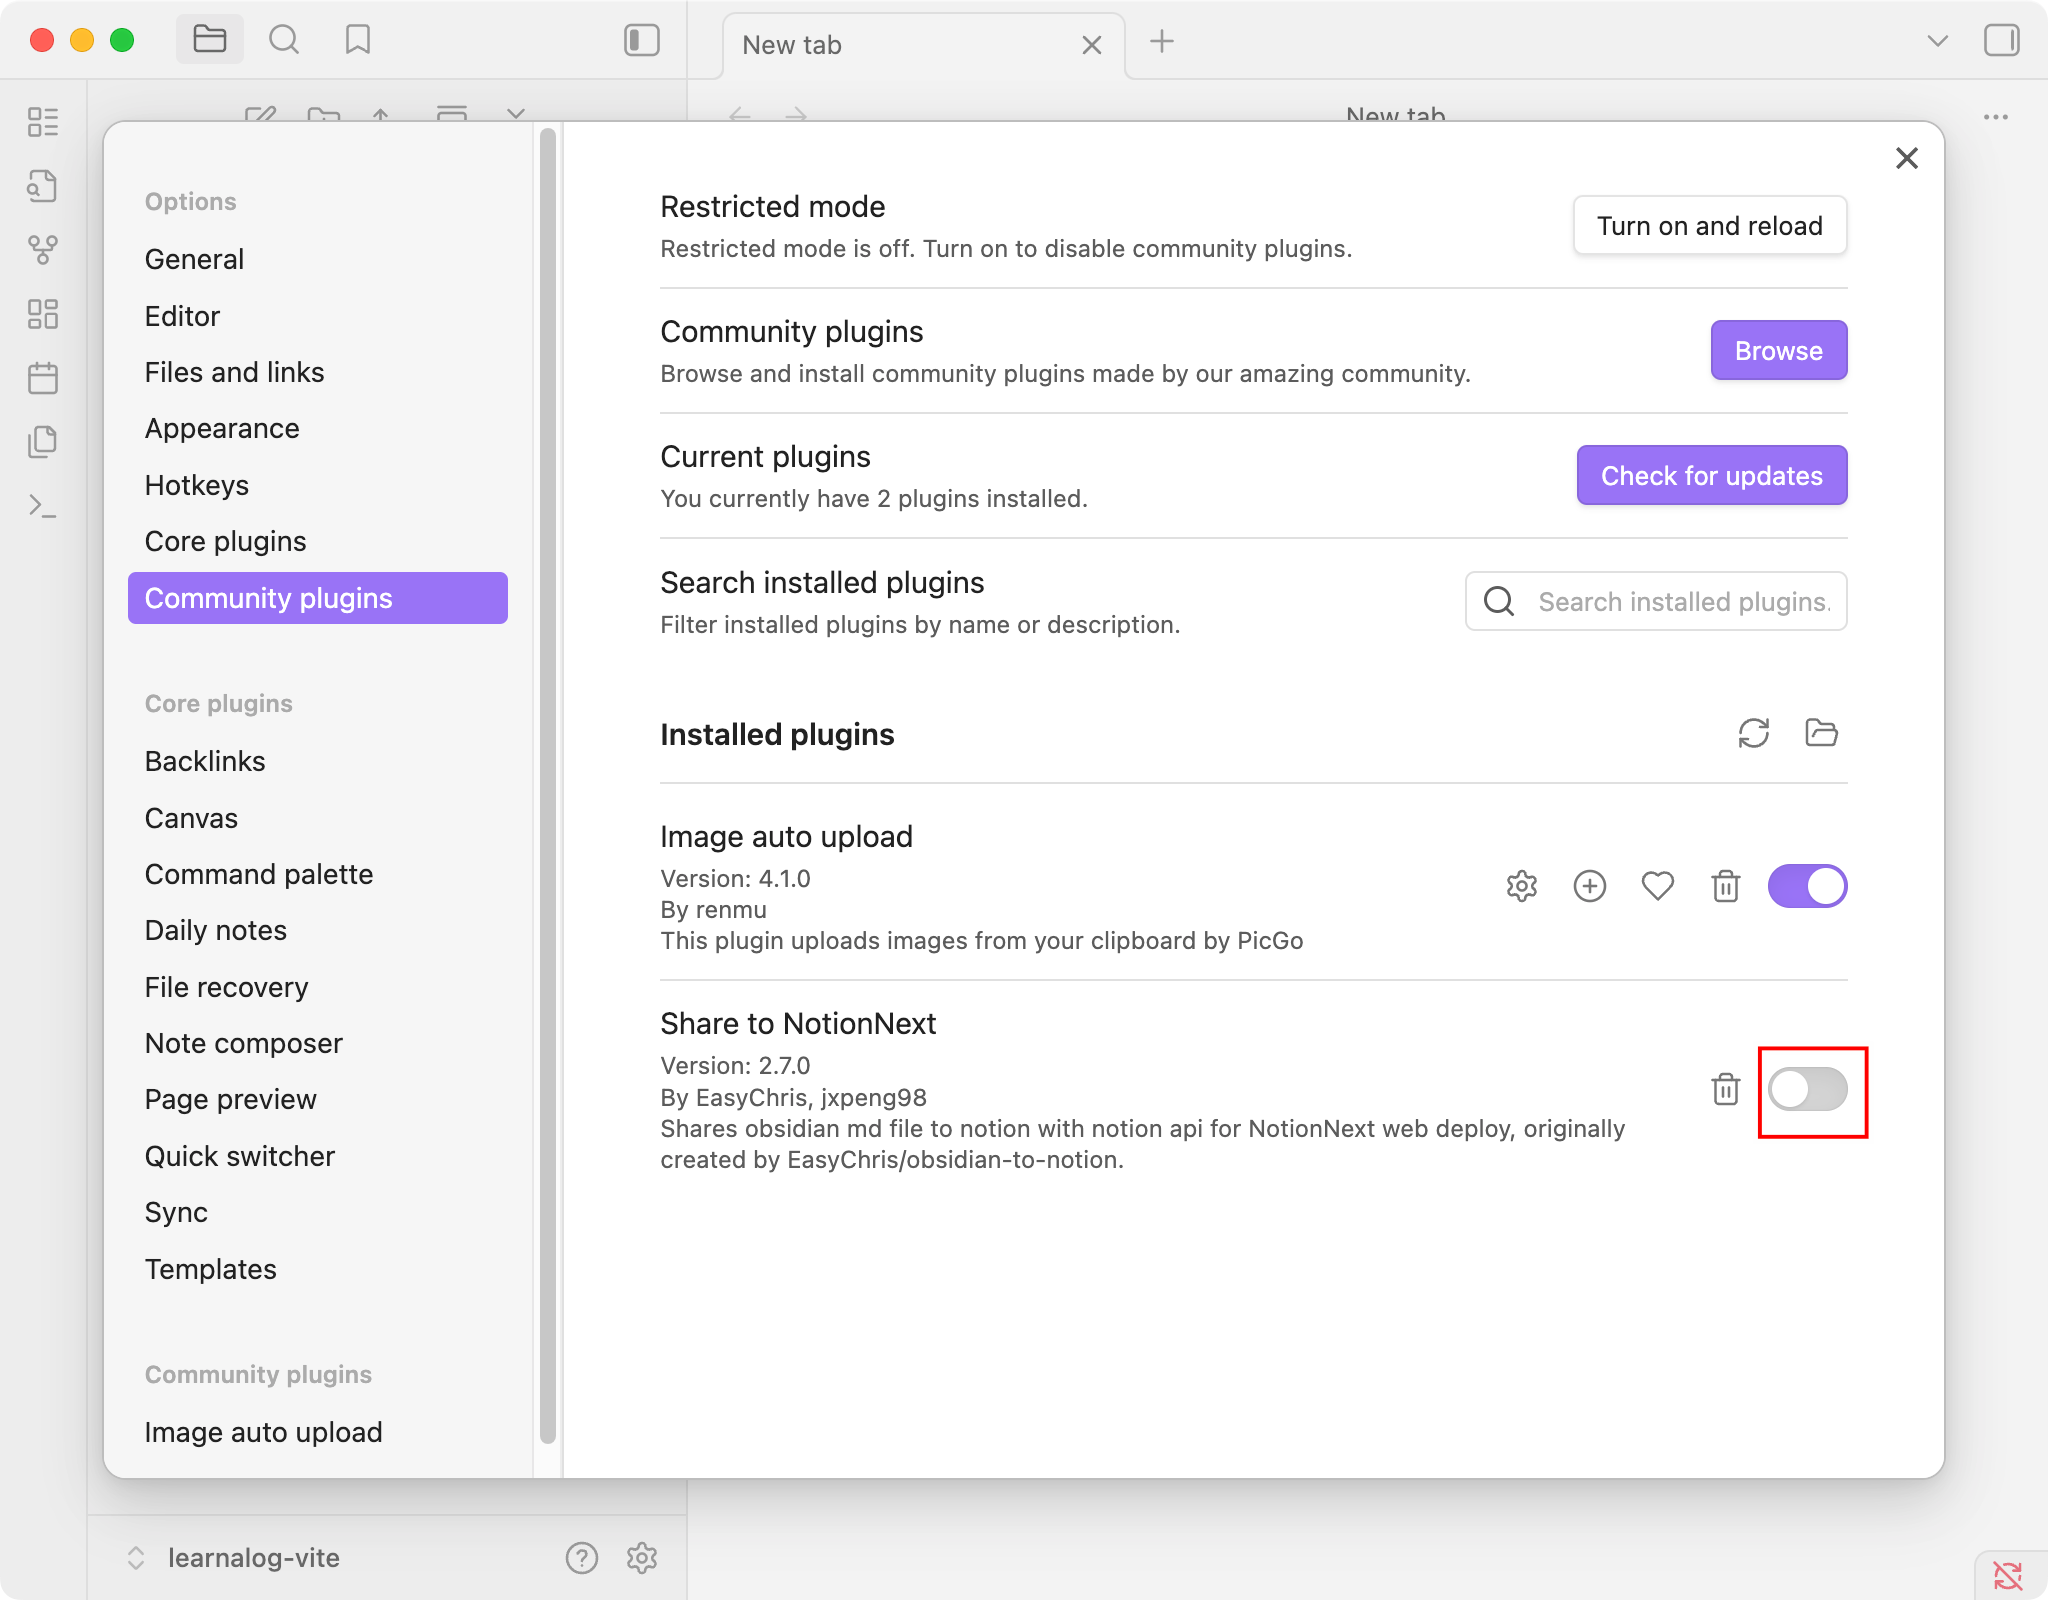
5. After installation, enable the plugin.
|
|
|
|
|
|
Now, once enabled, you can find the "Share to NotionNext" settings in the plugin settings tab to begin [configuring your databases](./03-configuration.md) in the next step.
|